


Door Hardware Options
Door hardware should feel right in your hand and work with the actual door. Shape and finish matter, but they come after compatibility: the door's construction, preparation, operating system and locking arrangement determine which choices can be used.
Begin with the way you enter, leave and secure the opening every day. Then compare the available handles and finishes for the selected product, along with the other selections in our design center. A preferred accessory from a photograph should be verified before it becomes part of the order.
- Licensed, insured, bonded
- Written scope before ordering
- Las Vegas valley

The short version
Door hardware has to fit the door first: the door type, its factory preparation and its locking system decide which handles and locks will work. Then compare grip, reach, finish and any smart lock features.
01 of 09
Choose for the door system first
Front entry doors
On front entry doors, the handle, latch, deadbolt or integrated locking arrangement must match the door's preparation and dimensions. Door thickness, the location and size of prepared holes, backset and related clearances can affect compatibility. Use the exact product instructions rather than a generic assumption that all residential hardware fits.
If you want to reuse an existing lock or key arrangement, identify the actual model before choosing the door. Ask whether it is compatible, whether modification is allowed and who is responsible for supplying and installing it. Reuse should be a confirmed part of the scope, not an expectation discovered on installation day.
Sliding patio doors
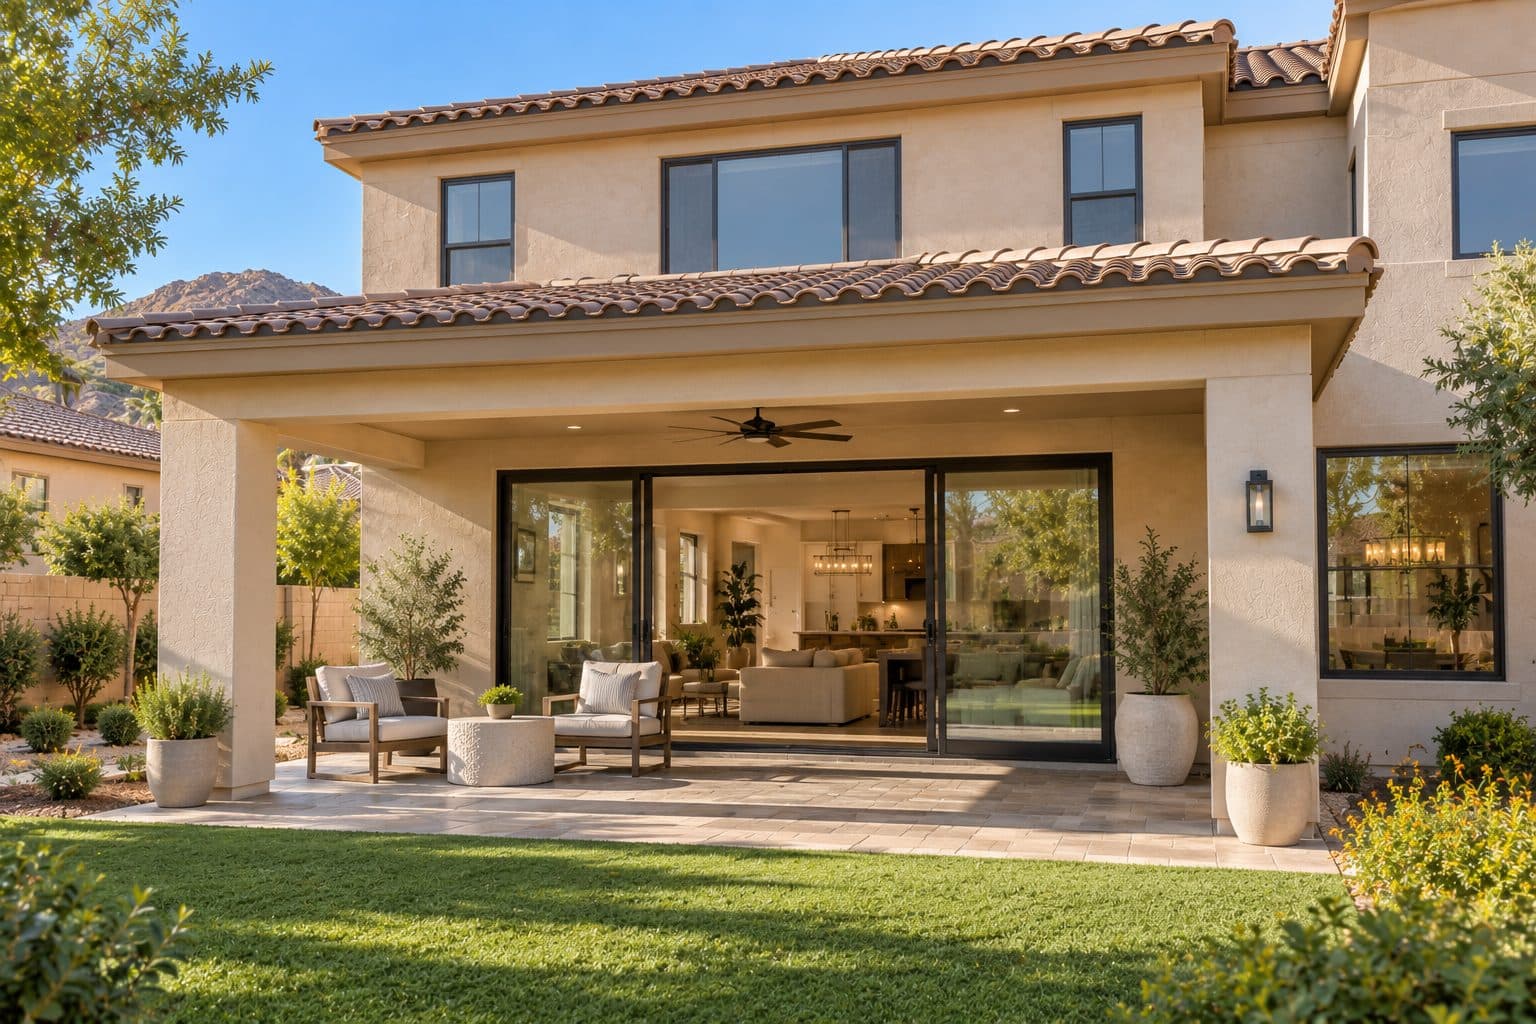
Hardware for sliding glass doors works with the panel, lock mechanism and keeper arrangement of the selected system. Handle projection and position can affect clearance beside a screen, wall or another panel. A decorative entry handleset should not be assumed to substitute for the door's own hardware.
Review operation from both sides. Ask how the door is unlocked, moved and secured, and whether exterior keyed access is included or available. Those details can matter more in daily use than a small difference in finish.
Folding and multi-slide doors
Larger patio door systems can have several operating points and a sequence for opening or securing panels. Confirm the handle locations, daily access arrangement and hardware included in the exact configuration. A photograph of one panel may not show every control used by the system.
Ask for an operation demonstration or current manufacturer instructions. The goal is to understand what you will touch and in what order, especially when only part of the opening is in use.
02 of 09
Use a fit gate before a finish shortlist
First identify the door and existing lock mechanism. Then check the dimensions and operation required by the candidate hardware. Only products that pass those checks belong in the finish comparison. Unknown compatibility should remain pending rather than be treated as fits most doors.
The backset measures from the door edge to the center of the main bore. Door thickness, bore diameters, hole spacing, faceplate preparation and the mechanism also matter. Two handles with similar visible dimensions can require different preparation beneath the trim. Schlage's preparation checklist illustrates these checks; its dimensions are not universal instructions for every lock.
Handing needs the same precision. It describes a product's orientation or lever arrangement, not whether the person using it is right- or left-handed. Manufacturer conventions and reversible options vary. Record a drawing with inside, outside, hinge side and swing direction, then confirm the exact model against guidance such as Schlage's handing explanation.
If compatibility fails, identify the actual alternative: a supported hardware model, an allowed preparation change or a different door assembly. Do not drill or alter the door simply because a decorative plate would cover the change. Product instructions, rated construction and coverage conditions can limit modification.
four steps, in order
How a Project Runs
- 1
Tell us about the project
Send your location, the approximate number of openings, and what you want to improve.
- 2
Review the openings and options
We discuss your priorities and assess the details that affect product selection and installation.
- 3
Define the work in writing
The proposal identifies the products and agreed installation scope so you can understand what the project includes.
- 4
Install and review the result
At completion, we review the installed products, operation, visible finish, and care information with you.

03 of 09
Consider grip, reach and clearance
Think about who uses the door and how they approach it. A lever, knob and long pull provide different hand positions. If grip or reach is a concern, explain the practical task you want to make easier so compatible choices can be reviewed.
Check nearby trim, screens, walls and furniture. The hand needs space around the handle, not just clearance for the metal part itself. Door swing or panel travel can also bring a handle close to another surface.
A product's appearance does not establish accessibility compliance for a complete opening. Where a specific accessibility requirement applies, review the actual hardware and installation against that requirement. A homeowner preference for easier operation can still guide selection without turning it into an unsupported certification claim.
04 of 09
Separate appearance from locking function
A pull or lever is the part you touch; the latch, bolt, keeper or strike performs a different job. A dummy trim piece may provide a grip without operating a latch at all. The selected package should identify each supplied function so a styled photograph does not imply hardware that is absent from the order.
Door alignment affects locking. If the door has to be lifted or pushed hard before the bolt engages, a more attractive handle does not address the underlying fit. The assessment should distinguish a mechanism issue from panel, hinge, frame or strike alignment. Avoid forcing a control as a substitute for that diagnosis.
For documented hardware performance, compare the same kind of evidence. BHMA's residential program distinguishes security, durability and finish ratings. Those are separate categories rather than one overall quality number. Check the exact certified product and the meaning of its label, using the BHMA rating explanation, before comparing claims.
A certified lock does not certify the entire installed entrance, adjacent glazing or frame. Keep product evidence tied to its scope. This page covers compatible hardware with suitable operation. For sliding and other patio openings, see our guide to patio door security considerations.
how we install
The Part Behind the Glass

Measured before anything is ordered
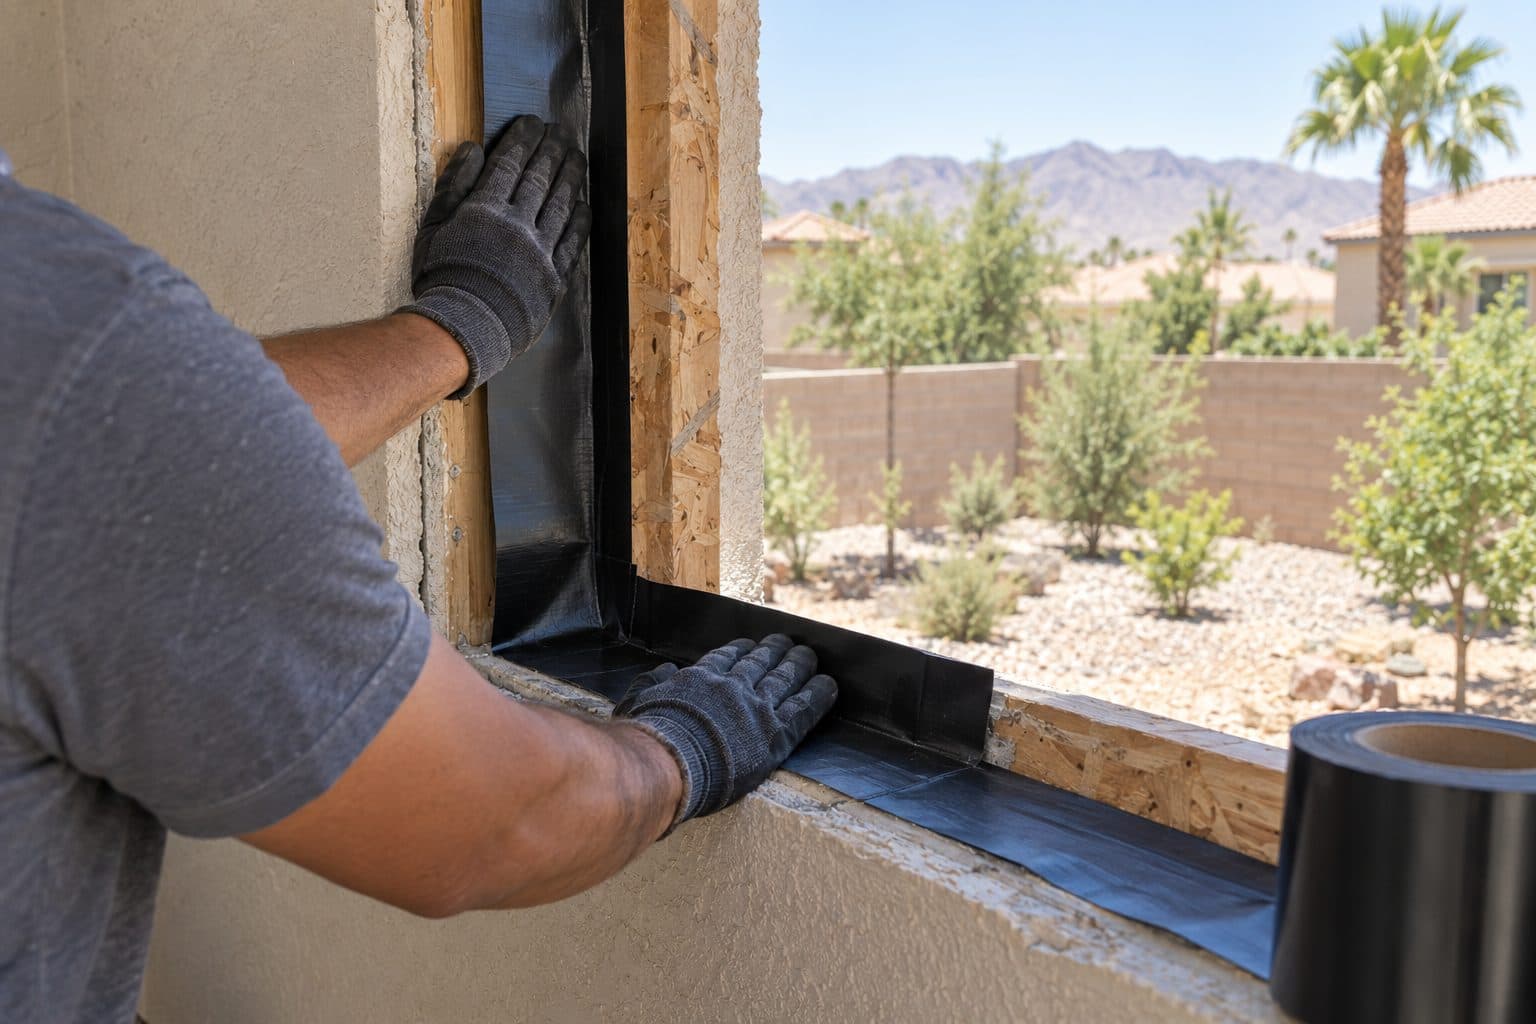
Flashed so water has a way out

Set level, plumb and shimmed
05 of 09
Coordinate finishes deliberately
Hardware can match nearby hinges and fixtures or provide a controlled contrast. Compare it with the door finish, exterior lighting, house numbers and interior details. Similar names such as bronze or black do not guarantee an exact match across manufacturers.
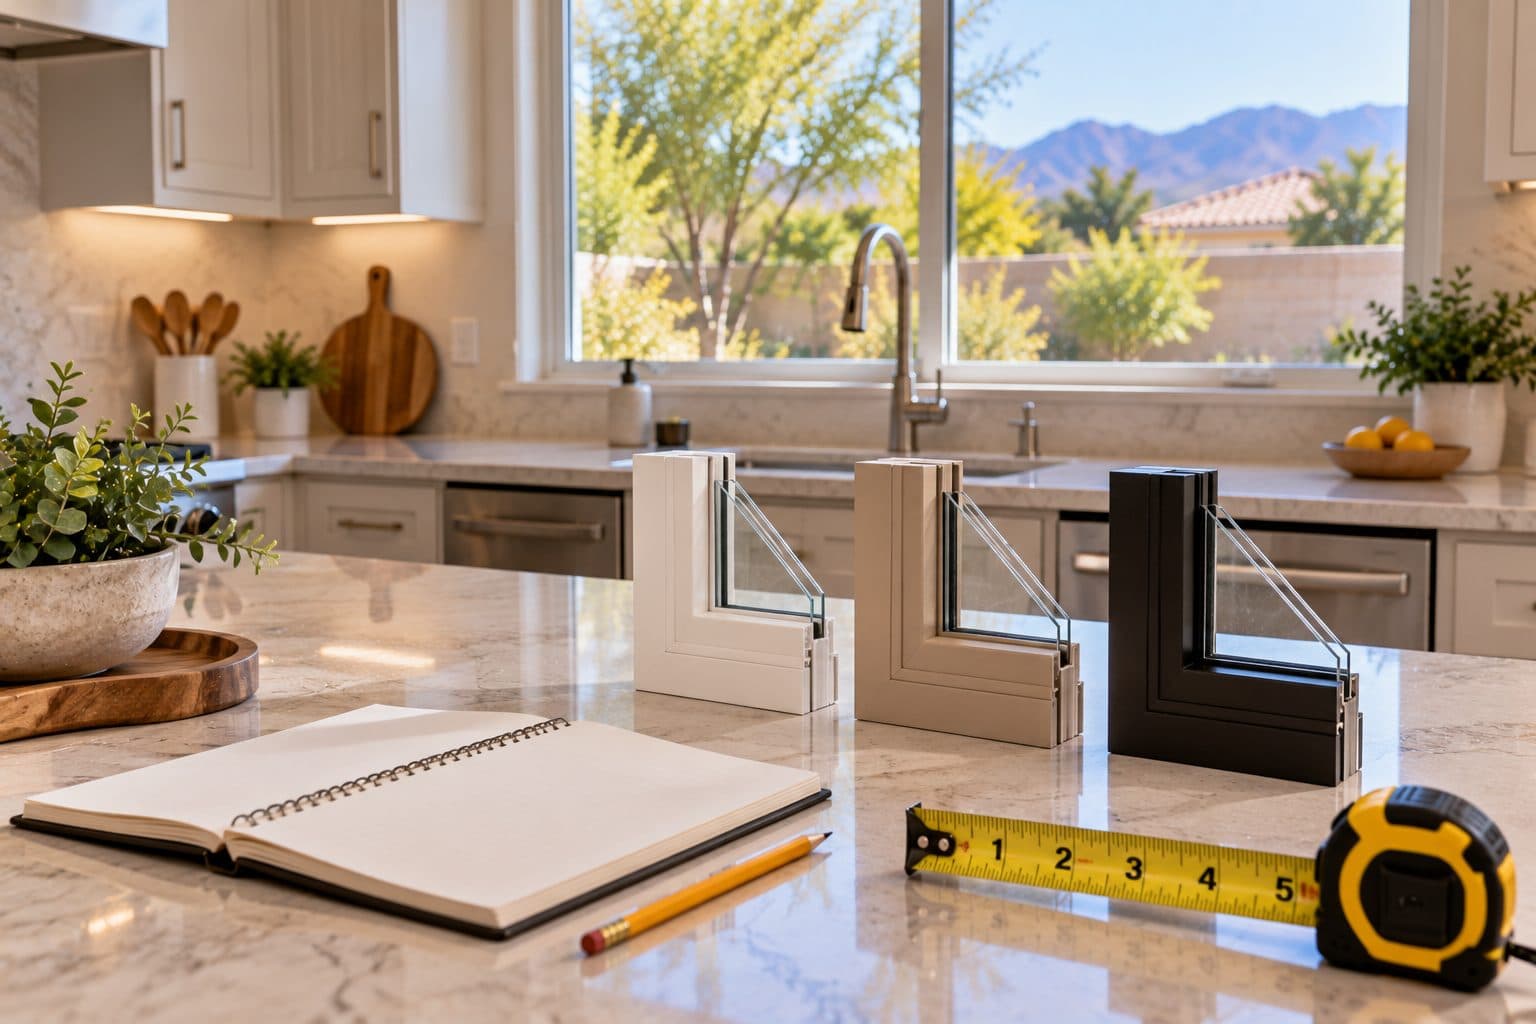
Ask for the official finish name and code. If different hardware components use different suppliers, compare actual samples where possible. A small difference may be acceptable when it is intentional and visible before ordering.
Review the care instructions for the chosen finish. Exposure, cleaning methods and normal use can affect its appearance. Do not assume a finish is maintenance-free or that any household cleaner is appropriate for it.
06 of 09
Evaluate connected locks as a separate choice
Begin with mechanical fit. Connectivity cannot correct an incompatible bore, door thickness or locking mechanism. Once fit is confirmed, separate the functions you need: local keypad entry, remote status, remote unlocking, temporary codes and integration with another system. A lock described as smart may not provide every function through every connection.
Use a model-specific function table. For each desired function, record required power, connection or hub, account ownership and any service dependency. Also record what remains available when the network is unavailable and what the documented low-power or backup-entry procedure is. The manufacturer's instructions establish those answers; do not assume all products have a physical key or identical offline behavior.
For example, Schlage provides separate guidance for Encode-series Wi-Fi requirements. That is a reason to check the specific model and feature, not to transfer its behavior to another connected lock.
Account setup is a distinct scope from fitting the lock. The homeowner should control the final owner account and decide who receives guest access. If setup assistance is agreed, document which temporary permissions are created and remove them when the task is complete. Do not put passwords or access codes in a general project record.
Plan future changes before choosing the system: replacing a phone, changing Wi-Fi, revoking a guest's code or transferring the home can require account actions. Review the manufacturer's support and reset process. A factory reset may remove access settings, so it should not be treated as a casual troubleshooting step without understanding the consequences.
07 of 09
Use a hardware selection record
| Item | What to confirm |
|---|---|
| Door identity | Manufacturer, series, material and configuration |
| Operation | Swing or panel movement and any handing requirement |
| Hardware | Exact model, included parts and compatible preparation |
| Finish | Official code for visible components |
| Access | Interior/exterior operation and key or code arrangements |
| Clearance | Space around handles, screens, trim and adjacent surfaces |
| Responsibilities | Supply, installation, adjustment, setup and care handoff |
If an accessory changes after the door is selected, check compatibility again. A similar-looking replacement can have different preparation or projection. Keep substitutions visible in the written record rather than approving them only by finish name.
08 of 09
Compare two plausible choices against the same task
Suppose a homeowner likes a long exterior pull but needs keyed entry from the patio. One pictured pull may be decorative trim while another belongs to a compatible keyed mechanism. Compare the complete functions, not the length and finish of the pull alone. If the selected door does not support the desired outside access, resolve that before purchasing hardware.
For a second hypothetical choice, two entry handles fit the door preparation, but one projects into the operating space of an adjacent screen. The relevant clearance includes the user's hand as well as the metal handle. A plan or demonstration in the actual geometry can reveal that conflict before installation.
Create a short pass/pending/fail checklist for mechanical fit, required function, hand clearance, finish and ownership needs. A failed essential condition removes the option; a pending condition requires confirmation. Optional app features or a preferred color should not overrule an unresolved physical-fit requirement.
If you supply your own hardware, include the exact model and all necessary components in the agreement. Clarify who handles missing parts, incompatibility, returns, adjustment and any support claim. Confirm with us which installation and setup tasks are included. Our guide to front door budget scope shows where hardware fits.
09 of 09
Review operation at handoff
The completed door should be reviewed using the supplied hardware and the intended operating sequence. Ask how to lock and unlock it, use any secondary controls and maintain the moving parts according to the manufacturer instructions.
Keep keys, product identification and care information together. For connected equipment, retain account ownership and the relevant setup information in your own records. Do not place private access codes in a general project photo or public review.
If the door becomes difficult to operate, describe the symptom and seek an appropriate assessment. Forcing the handle or modifying parts without guidance can create additional problems. A new decorative accessory should not be treated as a diagnosis for an alignment or mechanism issue.
things people ask us
Frequently Asked Questions
Can I buy the handle separately?
Discuss the exact model before purchase, ideally when you request an estimate. The door preparation, hardware system and installation responsibilities need confirmation. A compatible owner-supplied item can be addressed in the scope; an unverified accessory should not be assumed to fit.
Does a smart lock work on any new entry door?
No universal compatibility should be assumed. Check the lock model against the door thickness, preparation, mechanism and manufacturer requirements. Setup, power, connectivity and account ownership also need a clear plan.
Can entry and patio handles use matching finishes?
Some combinations may coordinate, but exact matches depend on the actual products. Compare official finish identifiers and samples. The door system should determine compatible hardware before appearance narrows the remaining choice.
Is lock handing based on whether I am left-handed?
No. It concerns the hardware orientation and the door arrangement under the manufacturer convention. Use a labeled drawing and the exact model instructions. Some products are reversible and others require a specific handing.
Still have a question about your home?
Ask us directly. A quick description of the opening is enough.
keep going
Related Pages
- Design center
Plan the look of your new windows and doors in one place: frame colors, glass, grid patterns and door hardware, and the order in which to choose them.
- Front entry doors
Front door replacement in Las Vegas: decide between a new door slab or a full frame, pick glass and hardware, and know what to check when it is installed.
- Patio door systems
Patio door replacement in Las Vegas: compare sliding, French, bifold and multi-slide doors, threshold options and what a complete estimate should cover.
- Patio door security considerations
Patio door security guide: check that the door latches and locks properly, then compare added locks, glass types and sensors while keeping a usable exit.
- Front door budget scope
What drives front door replacement cost in Las Vegas: slab or full framed unit, material, sidelights, hardware and finish work. See what to compare.
Sources referenced on this page
Independent references linked in the text above. A manufacturer source explains a product concept; it does not mean Agave Windows supplies that brand.
- Preparation checklist (schlage.com)
- Schlage's handing explanation (schlage.com)
- BHMA rating explanation (securehome.org)
- Separate guidance for Encode-series Wi-Fi requirements (schlage-res.zendesk.com)

ready when you are
Request a Door Selection Discussion
Tell us your location, the approximate number of openings, and what matters most to you. You do not need to arrive with a product already selected.
- Photos can follow once we reply; no measurements needed
- A written scope before anything is ordered
- Licensed, insured, and bonded
Request an Estimate