






Installation Standards: What a Finished Opening Should Account For
The quality of a window or door installation involves more than the appearance of the new frame. The product must fit the opening, connect appropriately to the surrounding wall, operate as intended and leave a clear record of the work completed. These are the details we use to frame the installation discussion and completion review, and our project process shows where each one falls.
The applicable product instructions and the conditions at your home guide the method. A replacement retaining part of an existing frame is not the same assembly as a full-frame removal. A small window and a large moving-glass system can also require different support, fastening and water-management details.

The short version
A good installation fits the product to the opening, follows the manufacturer's instructions, manages water and air at the edges, and ends with a check of operation, locks and finish work.
On this page
Establish the Opening Conditions
Before the product is finalized, the opening assessment should identify dimensions, visible condition, the surrounding finish and the installation approach being proposed. Existing damage, staining or difficult operation should be recorded as observations that need explanation. A symptom should not be treated as proof of one cause.
The proposal should distinguish retained components from those to be removed. If the existing frame remains, the product and method must be appropriate to that condition. If removal reaches the wall assembly, the scope should identify the expected finish disturbance and the approach to evaluating newly exposed conditions.
Concealed damage may only become visible after removal. The written agreement should explain how an unexpected condition is documented, communicated and priced before additional work proceeds. A clear process for that situation matters more than an unsupported promise that every opening will be straightforward.
Use the Instructions for the Actual Product
Manufacturer instructions are specific to the product and installation scenario. They can address opening preparation, support, shimming, anchoring, sealants and checks before finishes cover the assembly. The selected instructions must correspond to the unit supplied and the method used at the home.
Product ratings such as U-factor and SHGC describe a tested configuration. They do not establish that any field installation automatically reproduces every laboratory condition. The right discussion connects the exact product information to an installation method appropriate for the opening.
For large doors such as multi-slide door systems, details such as frame support, panel handling, sill conditions and adjustment deserve review before work starts. These decisions belong with the selected system’s documentation rather than a generic “all doors are installed the same way” checklist.
Follow the Water Path and the Air-Seal Boundary
Water management and air sealing solve different problems. Water-management details provide a route for incidental water to leave the opening and connect that route to the surrounding wall. A perimeter air seal limits unintended air movement between the unit and the building. A neat visible joint cannot, by itself, demonstrate both functions.
The Building America flashing guide explains why the opening must integrate with the wall's drainage plane. The applicable manufacturer instructions determine the details for the actual product and installation scenario. An insert placed within retained components cannot be evaluated by pretending it exposes the same wall layers as a full-frame installation.
Before those details are covered, a useful record identifies the selected installation guide, the retained layers, the intended outward drainage route and any condition that prevents following the planned detail. This is a documentation checkpoint, not permission for a homeowner to dismantle the assembly.
| Checkpoint | Useful record | Reason it matters |
|---|---|---|
| Existing opening exposed as planned | Dated observation and photograph of accessible condition | Confirms what was actually available to connect to |
| Product instructions selected | Product/guide identity and revision | Prevents a similar-looking but incompatible detail being assumed |
| Water-management detail complete | Images showing relevant overlaps and drainage before cover | Concealed work is harder to explain after trim is installed |
| Perimeter air-seal work complete | Location and material identified against instructions | Distinguishes the air boundary from intended drainage openings |
| Unexpected condition found | Description, approved response and changed scope | Connects the final work to the condition discovered |
Do not judge an opening by counting sealant beads or demanding that every visible gap be filled. Some openings are intended to drain. Likewise, a photograph of flashing material proves its presence only where visible; it does not establish continuity behind an unseen surface. The useful standard is an explained, product-appropriate assembly with evidence captured at the relevant stage.
Define the Finish Standard Before Removal
Interior casing, drywall returns, shutters, paint, stucco texture and exterior trim can all affect the finished appearance. Identify what will be preserved, removed, repaired or replaced. A complete product description without a finish description leaves an important part of the project undefined. Our guide to replacing windows in stucco homes covers the exterior side of that question.
Ask how a repaired area will meet the adjacent surface, who performs the work and what limitations exist in matching aged materials. New paint or texture may read differently against older finishes. Review the agreed extent of restoration rather than assuming the entire wall will be renewed.
Flooring at a patio or entry door deserves the same attention. A changed sill depth or threshold arrangement may expose an edge or alter the transition. Establish the finish boundary and any related work before a replacement is ordered around an incomplete assumption.
how we install
The Part Behind the Glass

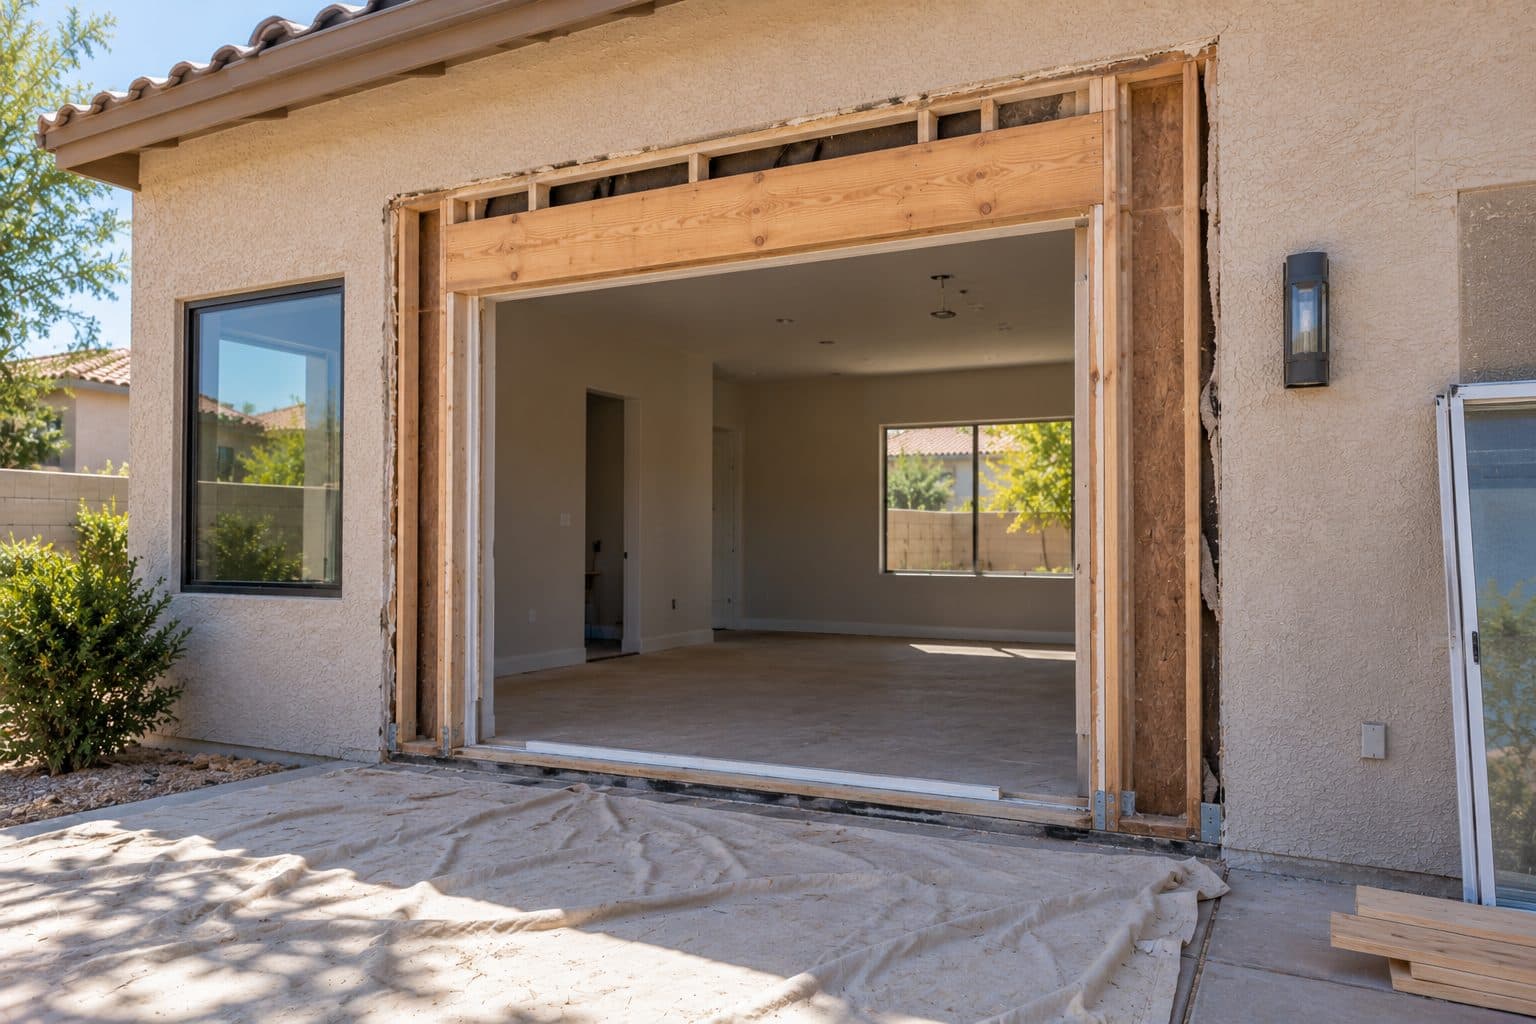
The old unit comes out cleanly
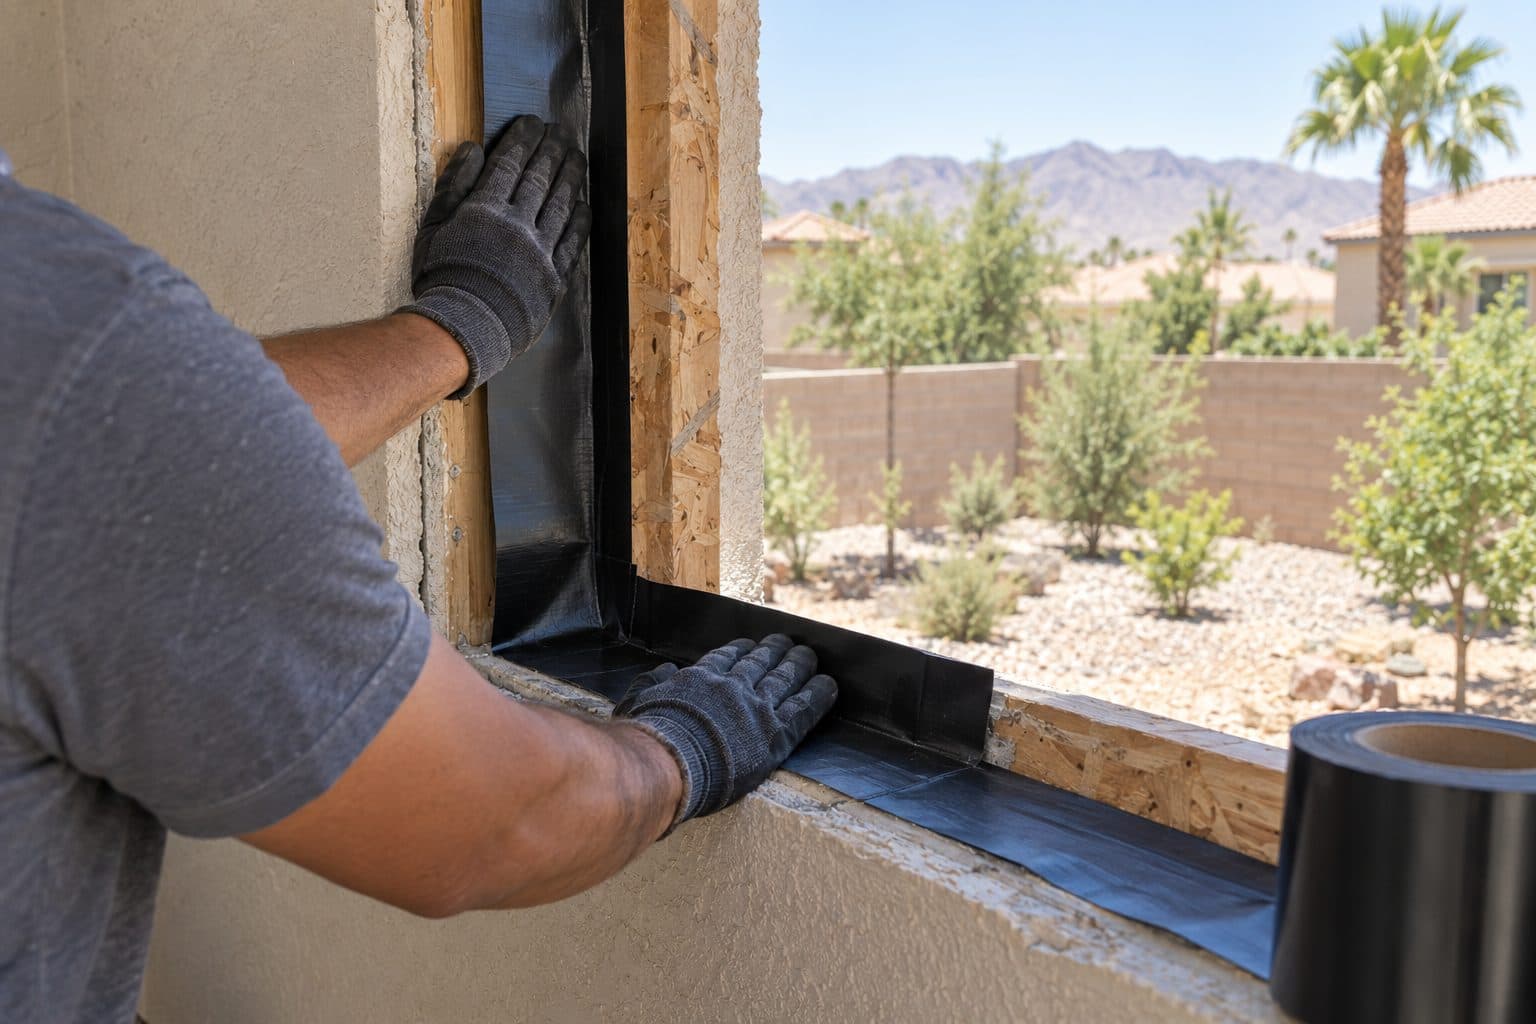
Flashed so water has a way out
Review Operation, Finish and Outstanding Items Separately
A completion review is clearer when it separates operation from appearance. Operate each supplied sash or door through its normal sequence, then check the lock and screen arrangement against the product instructions. Note binding, rubbing, unusual resistance or a control that does not behave as described. Do not force a unit to make it appear to pass.
Next, compare the visible result with the agreed finish scope. Check the extent of trim, patching, texture and paint, including any limitations documented before work. An intentional finish boundary is different from an unfinished item. A photograph taken from across the room may not resolve that distinction.
Record an unresolved item with its location, observation, responsible party and agreed next action. For example, a handle adjustment and a paint touch-up are different tasks and may have different completion records. Avoid combining them into one unexplained statement that everything is finished.
Where a window replacement permit applies, government inspections remain separate from this review. A passed inspection does not add excluded painting to the contract, and a homeowner walkthrough does not replace a required inspection. Keep the actual inspection status with the other project records.
The handoff should identify the products, care instructions, coverage documents and contact route for a later question. A future report is easier to assess when it names the opening and describes when the symptom occurs. Water during wind-driven rain, room-side condensation and between-pane fog are different observations, as our window condensation guide explains; none should be reduced automatically to a request for more sealant.
Ask for Evidence That Matches the Claim
A finished photograph can show trim and appearance. A documented installation detail can explain what occurred before the finish was closed. A product label can identify rated performance. Each type of evidence answers a different question, and none should be presented as proof of every aspect of the project.
Bring your installation questions to the estimate, and use our installation preparation guide once a date is set. We want the written scope to explain the product, the opening and the finish work so you can assess the complete project before proceeding.
Compare retrofit and full-frame replacement when the proposed method retains or removes the existing frame.
things people ask us
Frequently Asked Questions
Does every window need full-frame replacement?
No. The condition of the opening, the product and the intended result determine the suitable approach. The proposal should explain what remains, what is removed and how the selected assembly is installed and finished.
Will a new unit correct any water appearing near the opening?
That depends on the source. Water can involve the product, installation or surrounding building. The observed condition should be evaluated so replacement is not presented as a guaranteed solution to an unrelated leak.
What should a useful installation record distinguish?
Keep product identification and the applicable instructions, any accessible pre-cover details recorded during the work, operation checks, finish scope and outstanding items. A finished photograph supports appearance; it cannot by itself verify every concealed connection.
Still have a question about your home?
Ask us directly. A quick description of the opening is enough.
keep going
Related Pages
- Our project process
See how a window or door project with Agave Windows works, step by step: first conversation, measuring, product selection, ordering, installation and review.
- Retrofit and full-frame methods
Retrofit vs full-frame window replacement: what stays in the wall, what comes out, how each affects glass size and finish work, and when each one fits.
- Stucco-home replacement
Replacing windows in a stucco home: when stucco must be cut, how water is managed behind it, and what to expect from patching, texture and paint.
- Installation preparation
How to prepare for window installation: clear access to each window, handle blinds and alarm sensors, protect belongings, and plan for pets and children.
Sources referenced on this page
Independent references linked in the text above. A manufacturer source explains a product concept; it does not mean Agave Windows supplies that brand.
- Building America flashing guide (basc.pnnl.gov)

ready when you are
Request a Clearly Defined Installation Proposal
Tell us your location, the approximate number of openings, and what matters most to you. You do not need to arrive with a product already selected.
- Photos can follow once we reply; no measurements needed
- A written scope before anything is ordered
- Licensed, insured, and bonded
Request an Estimate