




- 7 min read
- Updated
- Supports: Replacement Windows
Prepare Your Home for Window Installation
Preparing for replacement window installation is mostly about access, belongings and household coordination. You do not need to perform construction work before the crew arrives. You do need a clear agreement about which areas must be available and who handles items around each opening.
Use this guide alongside the instructions for your actual appointment. Our step-by-step project process shows where installation day fits. The required working space, protection plan and daily sequence depend on the windows, home layout and agreed scope.

The short version
Clear a path to each window, move furniture and breakables away, and agree ahead of time who removes blinds, shutters and alarm sensors. Plan for pets and children, and leave time for the final walkthrough.
On this page
Confirm the appointment and affected rooms
Before making major household arrangements, confirm the installation date or arrival window and the current scope. Use room names or opening identifiers that match the order. Ask whether all listed windows are included in this visit or whether the work is divided into stages.
Identify the person who will answer on-site questions and the contact for schedule changes. For an Agave project, schedule questions can go through our contact page. If the homeowner will be away, agree who has authority to discuss access or approve a proposed change. Do not leave that responsibility unclear while an opening is being worked on.
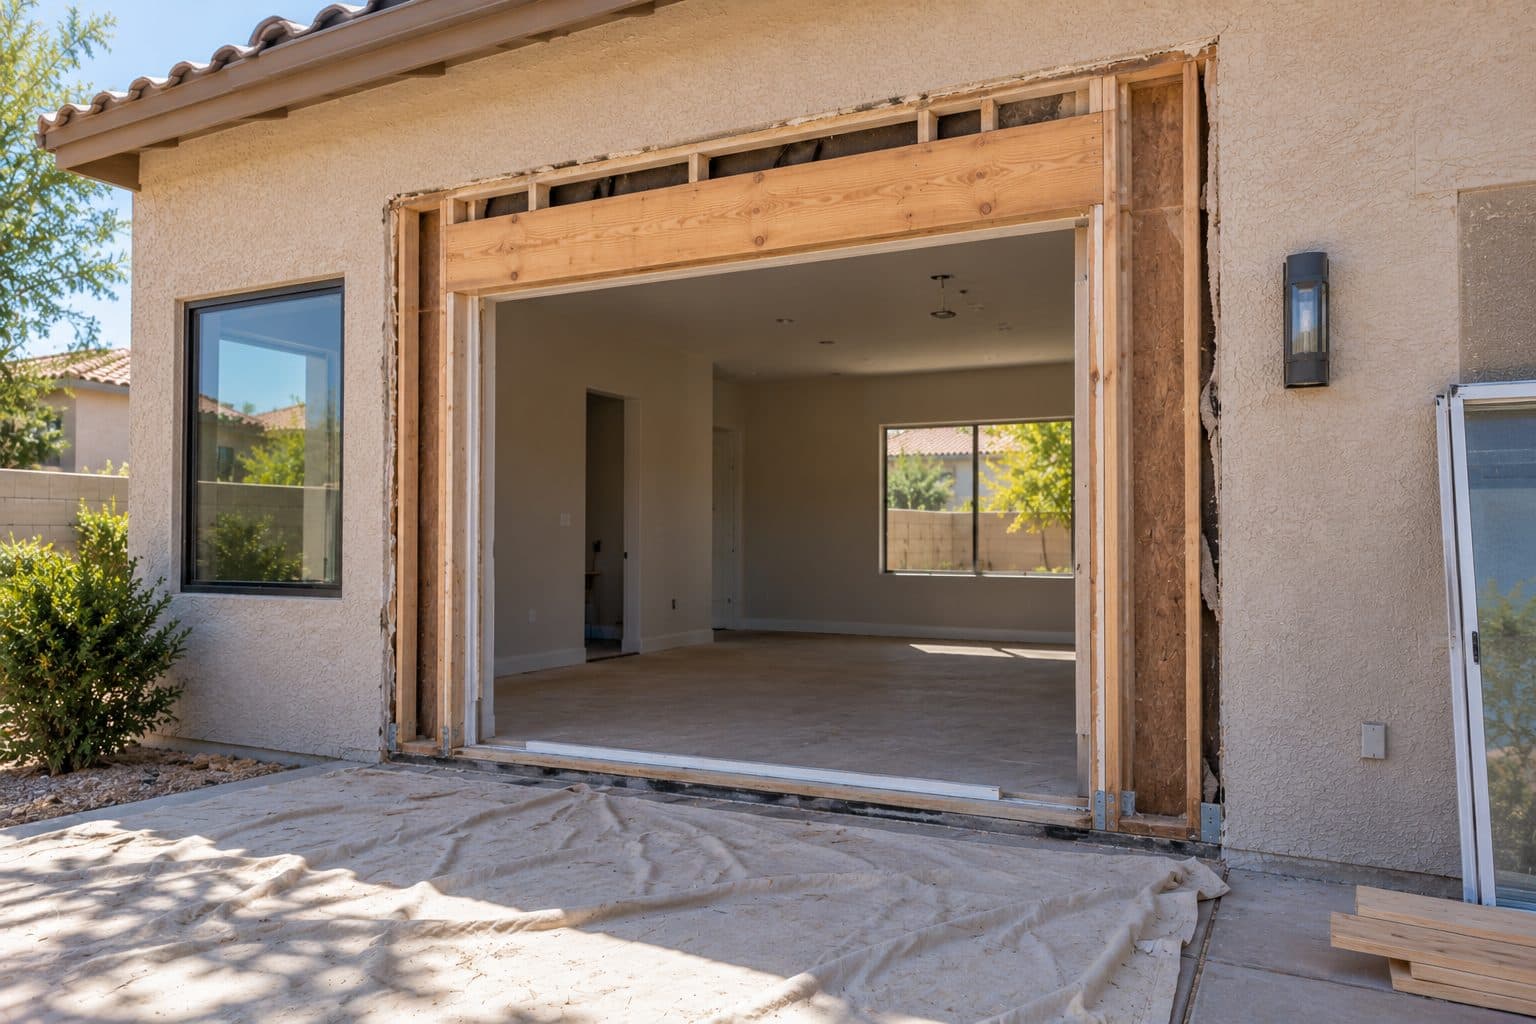
Ask which rooms are expected to be affected and whether finishing will require another visit, since the full window replacement timeline can extend past installation day. This helps you plan normal activities without assuming every room will be continuously available throughout the appointment.
Clear a practical route to each opening
Think in three connected zones: the route into the house, the work area at the opening and the place where displaced belongings will stay. Clearing only the window can fail if furniture blocks the route needed to bring the new unit through the home.
Walk the agreed route before installation day. Note tight turns, stairs, low fixtures, rugs and furniture that cannot be moved safely. Describe these conditions in advance; the installation team must establish the handling plan for the actual units. Do not guess a universal clearance distance from an online checklist.
Move light personal items to an unaffected location. Label boxes by room so restoring the space does not become a second search project. Keep doors, normal exits and the route to essential household spaces clear. Placing everything from one bedroom into the hallway merely moves the access problem.
Large cabinets, aquariums, built-ins and heavy furniture need an agreed responsible party. If you cannot move something safely, say so early and leave it for the arranged handling plan. Do not remove sash, glass, trim or attached equipment to “help” the work start sooner.
When older painted surfaces need special planning
If the home was built before 1978, raise that fact before work begins. Disturbing older painted surfaces during window work can create lead dust; EPA recommends using a lead-safe certified contractor for relevant renovation work. Confirm the applicable assessment and protection plan. Household preparation should follow that plan rather than scraping painted trim or sweeping renovation dust as a preliminary task.
Agree who handles blinds, shutters and curtains
Window coverings can affect access and may fit differently after replacement. Ask whether removal and reinstallation are included and whether particular shutters, tracks or brackets need a specialist. Record responsibility before the appointment.
If you remove small removable items yourself, label them by room and keep hardware together. Do not detach unfamiliar or heavy assemblies without help. The goal is orderly preparation, not damage caused by rushing through a task outside your experience.
Discuss any built-in coverings or items attached directly to the frame. The new product may have restrictions on drilling or mounting accessories. Ask how those items will be handled before assuming they can be transferred in the same way.
Protect belongings through an agreed plan
Remove fragile objects from the immediate area and from nearby surfaces where movement could affect them. Take down vulnerable wall items as directed, particularly near openings or planned finish work. Secure valuable or private belongings away from the work path.
Ask what floor and furniture protection the installation scope includes. Do not assume that clearing the room means you must supply every protective material, or that a contractor’s protection plan eliminates the need to move delicate objects.
Mention unusual finishes, recently installed flooring or surfaces requiring special care. A brief discussion before arrival gives the team a chance to plan protection that suits the home rather than discovering the issue during material handling.
how we install
The Part Behind the Glass

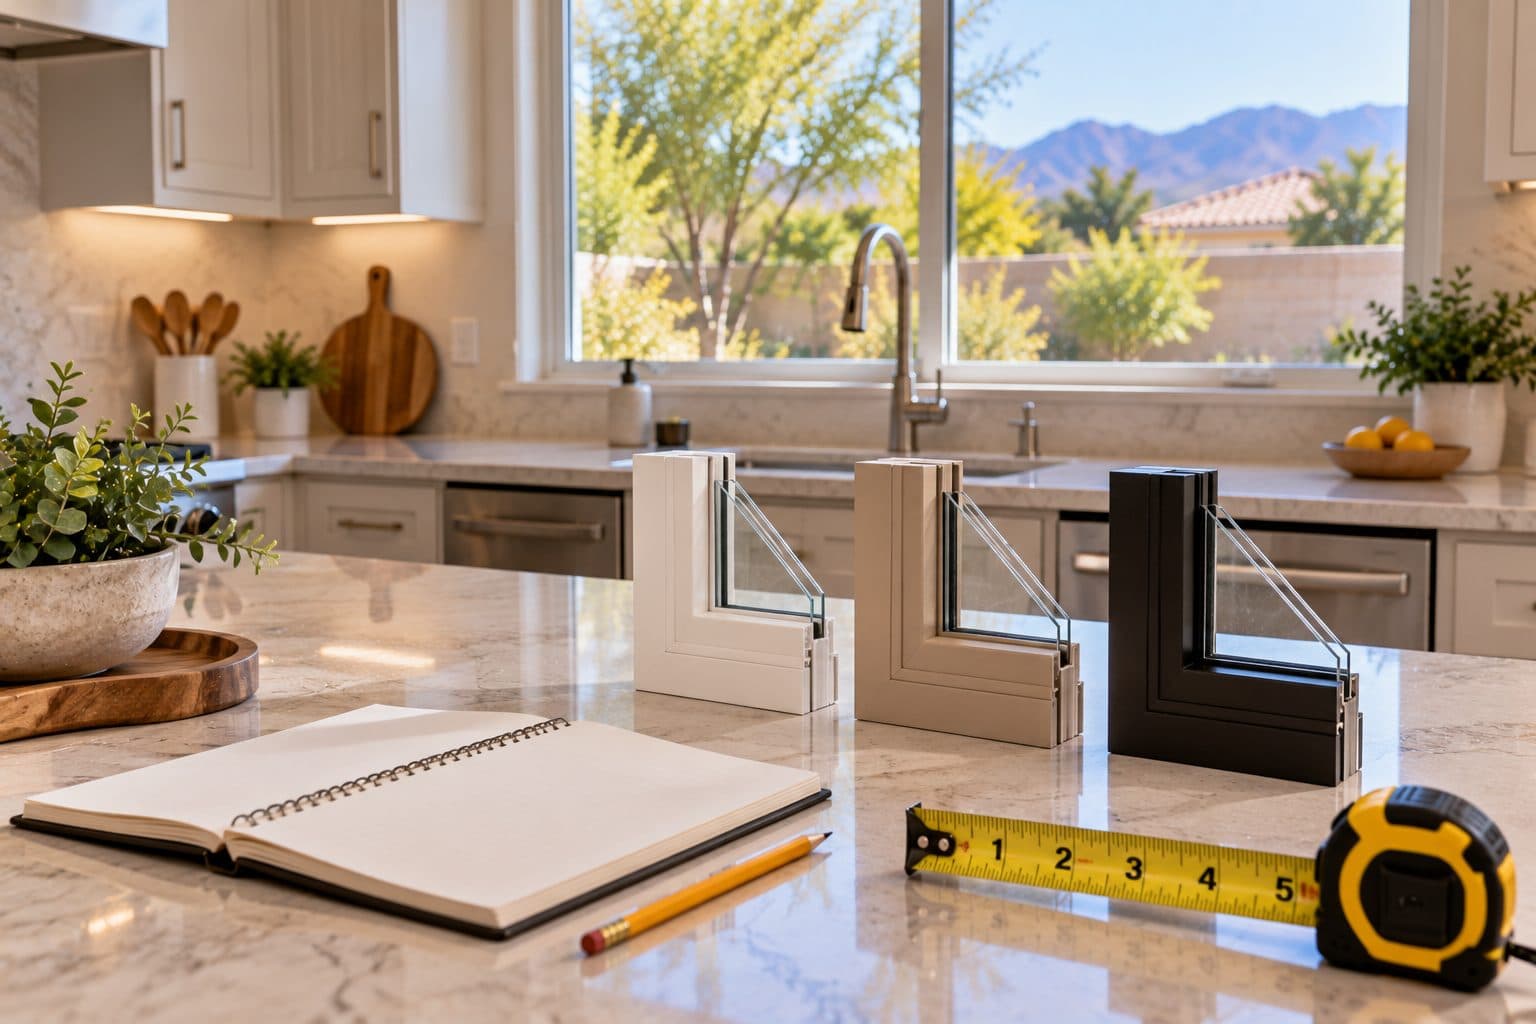
Measured before anything is ordered
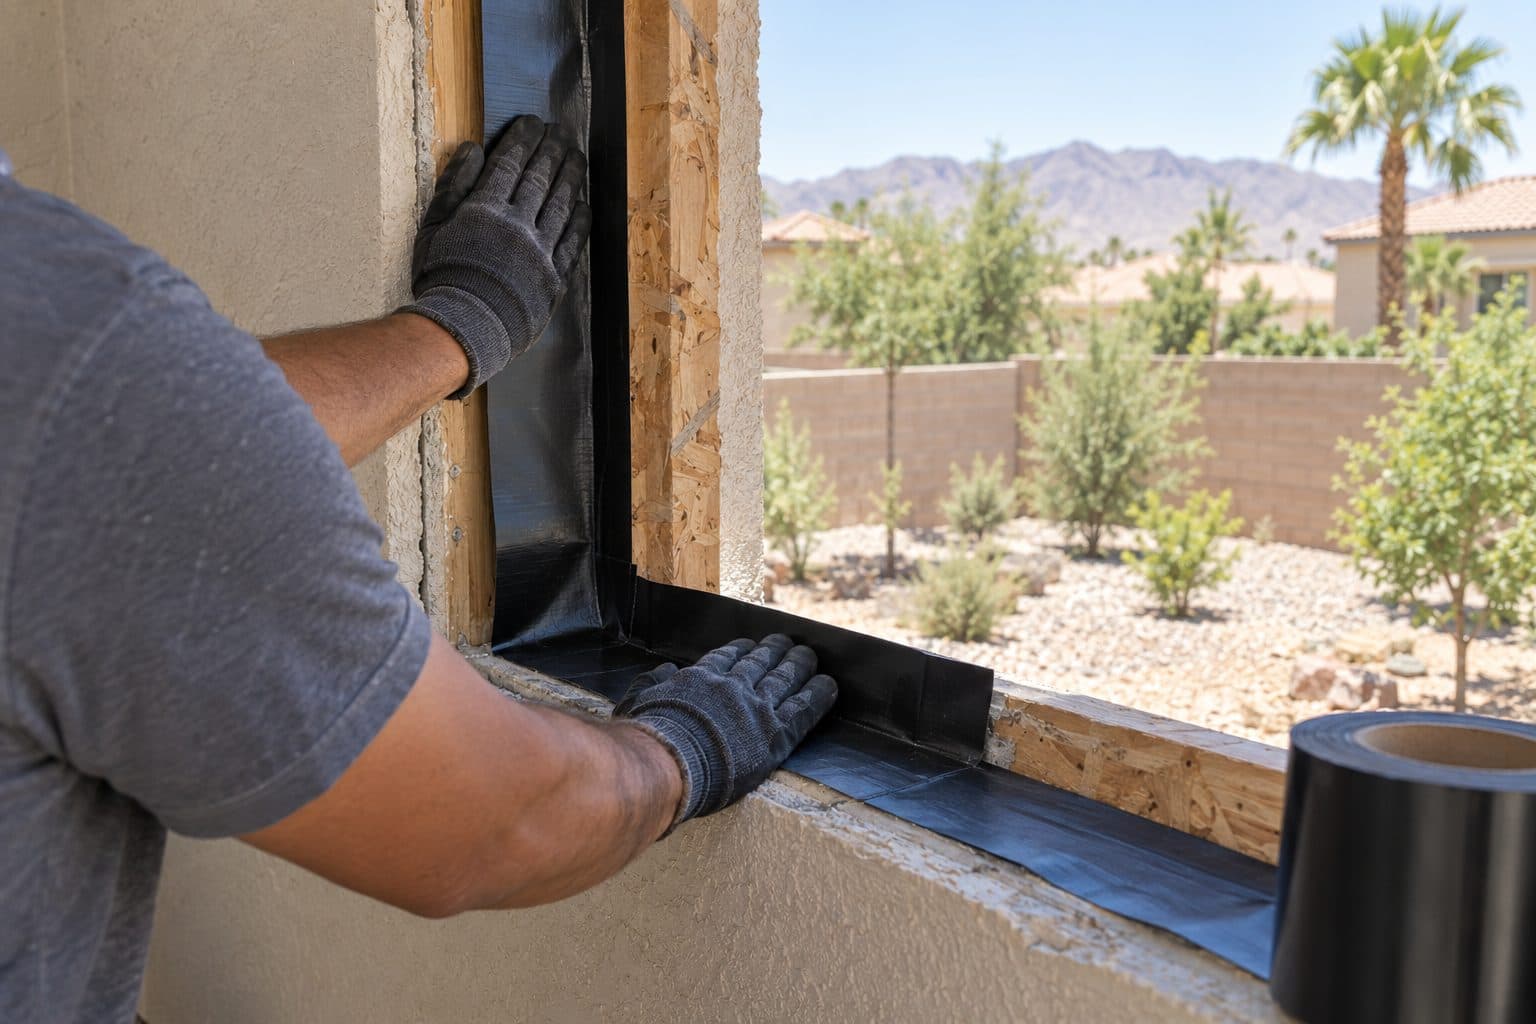
Flashed so water has a way out
Prepare the exterior access area
Move patio furniture, planters and loose items from the agreed work area. Identify gates, narrow passages and landscaping that affect access. Tell the installer about irrigation schedules or other exterior activity that could interfere with the work.
Do not prune major landscaping or remove fixtures simply because a window is nearby. Ask what access is actually required. Upper-level units or unusual terrain may need a specific plan that should be settled before installation day.
Confirm where vehicles, materials and removed items may be placed. If parking or access is controlled, arrange the needed information in advance. Keep the plan consistent with any property or association requirements that apply.
Make a plan for pets, children and daily routines
Choose a secure area away from active work and handling routes for pets and children. Doors or gates may be used repeatedly, and a normally contained pet may have an unexpected escape route. Tell the team where animals are kept and how that area is accessed.
Plan remote work, calls and rest around likely activity. If a quiet room is essential, ask whether the sequence can accommodate it rather than expecting the house to function normally around every opening. Discuss particular household needs early.
Keep necessary items such as medication, chargers and daily supplies accessible outside the affected rooms. This avoids repeated trips through the work area for things that could have been moved beforehand.
Identify alarms and connected accessories
Tell the installer about window sensors, wired alarms, security contacts or other devices connected to the existing units. Ask who is responsible for disconnecting, relocating and restoring them, and whether your alarm provider needs to be involved.
Do not assume window installation automatically includes electronic-device service. A sensor can appear small while requiring a separate system update or test. Clarify the scope and any follow-up appointment before removal begins.
The same principle applies to specialty screens, pet-related accessories and custom trim. List anything you expect to keep so its compatibility and handling can be discussed in advance.
Use a readiness handoff before the crew arrives
Complete the parts you control after the appointment is confirmed, then flag anything still unresolved. A short opening-by-opening note is more useful than a general “house is ready” message.
| Item | Household preparation | Handoff to confirm |
|---|---|---|
| Office window | Desk contents moved; computer relocated | Who moves the heavy desk, and where? |
| Bedroom shutters | Room label and photos saved | Who removes, stores and reinstalls the assembly? |
| Patio access | Loose furniture moved | Which gate and parking area will be used? |
| Window sensor | Alarm provider identified | Who restores and tests the affected device? |
| Daily essentials | Medication and supplies in an unaffected area | Which rooms will remain accessible? |
For a household with pets and remote work, preparation may mean moving the workday to another room and choosing a pet area that the handling route never crosses. Putting the pet behind a gate that workers need to use repeatedly defeats the plan. The same logic applies to stored belongings: choose their location by the day's movement through the home.
Before arrival, send any unresolved access issue to the agreed project contact. On arrival, confirm the plan still matches the actual sequence. At the end of the visit, wait for the instruction that an area is ready before restoring coverings or pushing furniture against newly finished work. These are three separate handoffs, not a promise that every room can return to normal as soon as its glass is in place.
Use the arrival review to confirm the plan
Walk through the affected openings with the responsible person. Point out existing damage or concerns, confirm room labels and review the agreed finish scope. Ask where you should direct questions during the work.
If an unexpected condition is found later, request a clear explanation and the proposed next step. Follow the agreement’s change process rather than relying on a hurried verbal assumption about extra work.
Before the team leaves, ask which areas can be used normally and which materials or finishes need to remain undisturbed, such as fresh stucco patching around new windows. Specific product instructions should guide cleaning, operation and the return of coverings.
Save time for the final walkthrough
Review operation and locks, visible finishing and any remaining tasks. Ask for a demonstration of unfamiliar controls and how screens are handled. Keep care information and product identifiers with the final project documents. Our guide to window warranty records lists what is worth saving.
If a follow-up visit is required, record the item, location and next step. A clear closeout record is the last part of preparation for living with the new windows.
This guide supports
Replacement Windows →things people ask us
Frequently Asked Questions
Do I need to move every piece of furniture?
Usually the relevant question is access to the openings and the handling route, not emptying the entire home. Ask for the required working area and discuss large items you cannot safely move. Confirm who handles them rather than making an unsafe attempt before the crew arrives.
Can I stay home during installation?
Discuss the actual work plan and household needs with the installer. Some spaces may be usable while others are affected by access and activity. Arrange a safe area away from the work and identify how questions will be handled. Do not assume every room will remain available.
Who removes and reinstalls shutters or alarm sensors?
That depends on the written scope and the specific items. Ask separately about coverings and connected devices because either may require another provider. Confirm removal, storage, reinstallation and testing responsibilities before the appointment so nothing is left to assumption.
Should I clean the new windows immediately?
Follow the product and installer’s instructions, including any restrictions for fresh sealants, finishes, labels or treatments. Ask when routine cleaning is appropriate and which products are approved. Do not use scrapers, solvents or aggressive methods without confirming they are suitable.
Still have a question about your home?
Ask us directly. A quick description of the opening is enough.
keep going
Related Services and Guides
- Replacement Windows
Replacement windows in Las Vegas, planned room by room. See how to choose glass, frames and installation method, and what a clear estimate should include.
- Agave installation process
See how a window or door project with Agave Windows works, step by step: first conversation, measuring, product selection, ordering, installation and review.
- Window replacement timing
How long does window replacement take? See each stage, from measuring and ordering to delivery, installation and finish work, and what can cause delays.
- Stucco finishing expectations
Replacing windows in a stucco home: when stucco must be cut, how water is managed behind it, and what to expect from patching, texture and paint.
- Warranty and product records
How to read a window warranty: what is covered, who pays for labor, what lifetime really means, whether it transfers, and which records you should keep.
- Window Buying Guide
How to choose replacement windows in Las Vegas: list what each room needs, pick a style, compare glass ratings and installation, then line up quotes.
- Window Replacement Cost
What affects window replacement cost in Las Vegas: window size and type, glass, installation method and stucco or trim repair. Learn how to compare quotes.
- Window Replacement vs Glass Replacement
Should you replace the glass or the whole window? Learn when new glass is enough, when a sash swap works and when full window replacement makes sense.
- Signs Windows Need Replacement
Signs your windows may need replacement: fog between panes, sticking sashes, drafts, stains or damage. Learn what each one means and what to do next.
- Retrofit vs Full-Frame Replacement
Retrofit vs full-frame window replacement: what stays in the wall, what comes out, how each affects glass size and finish work, and when each one fits.
- Replacement vs New-Construction Windows
Replacement vs new-construction windows: how nail-fin, flush-fin and block-frame windows differ, and which one fits the wall work planned for your home.
Sources referenced on this page
Independent references linked in the text above. A manufacturer source explains a product concept; it does not mean Agave Windows supplies that brand.

ready when you are
Have a Question About Your Own Home?
A guide can explain the choice. Your openings decide the answer. Tell us what you are seeing and we will help you work out the next step.
- Photos can follow once we reply; no measurements needed
- A written scope before anything is ordered
- Licensed, insured, and bonded
Request an Estimate