


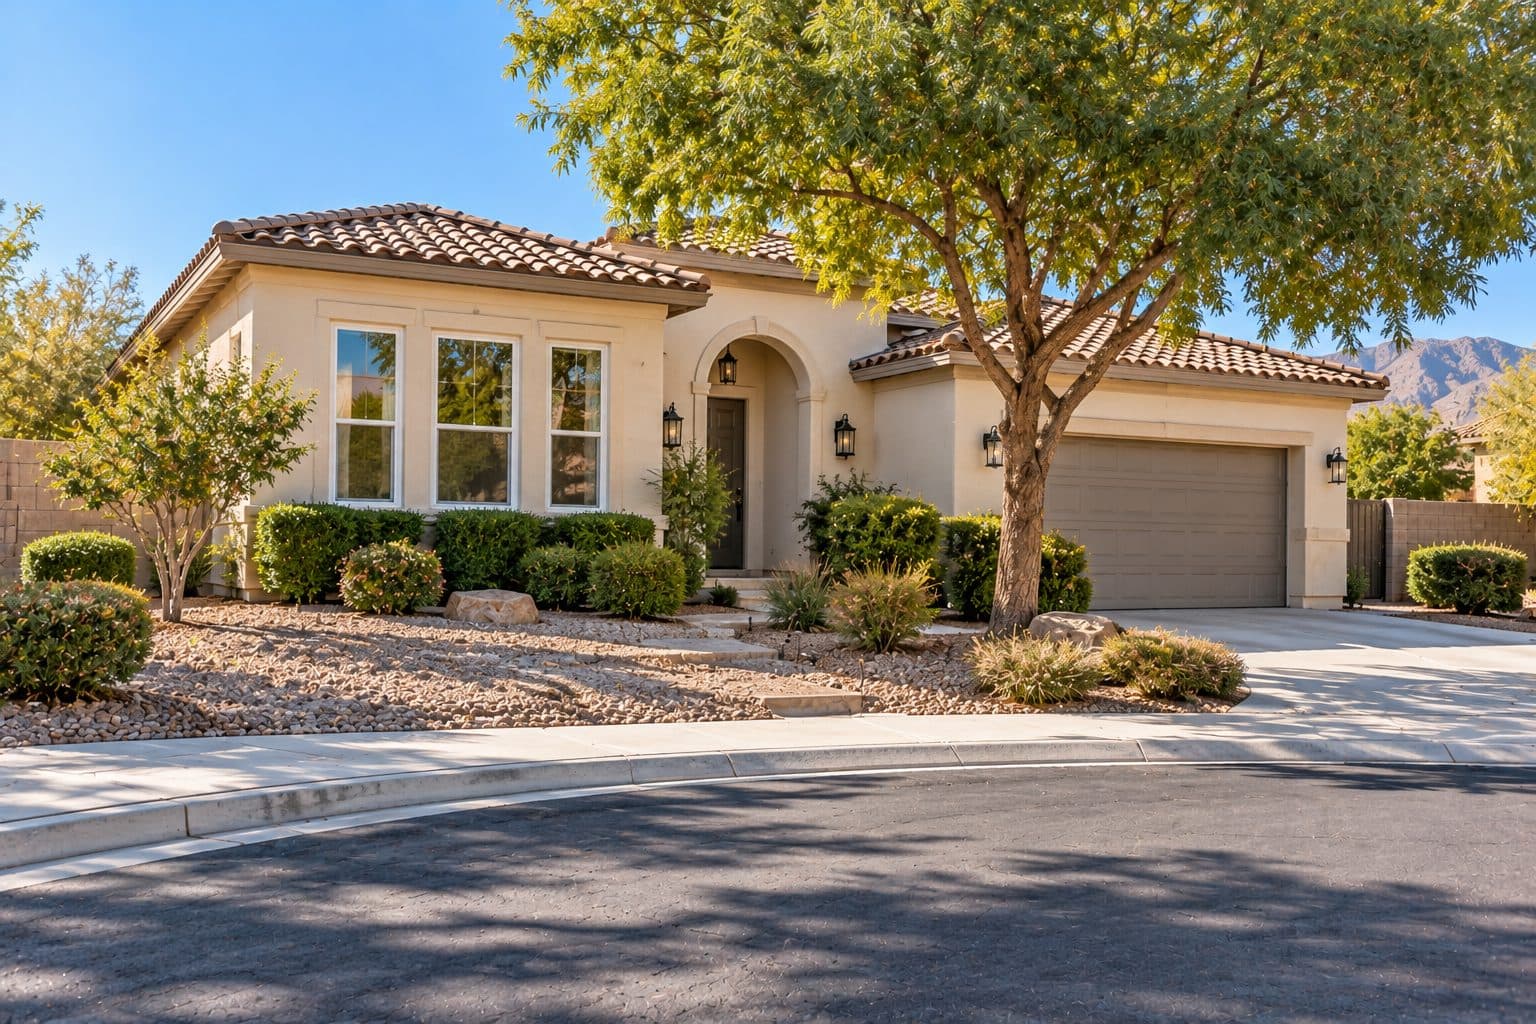
Patio Enclosures in Las Vegas
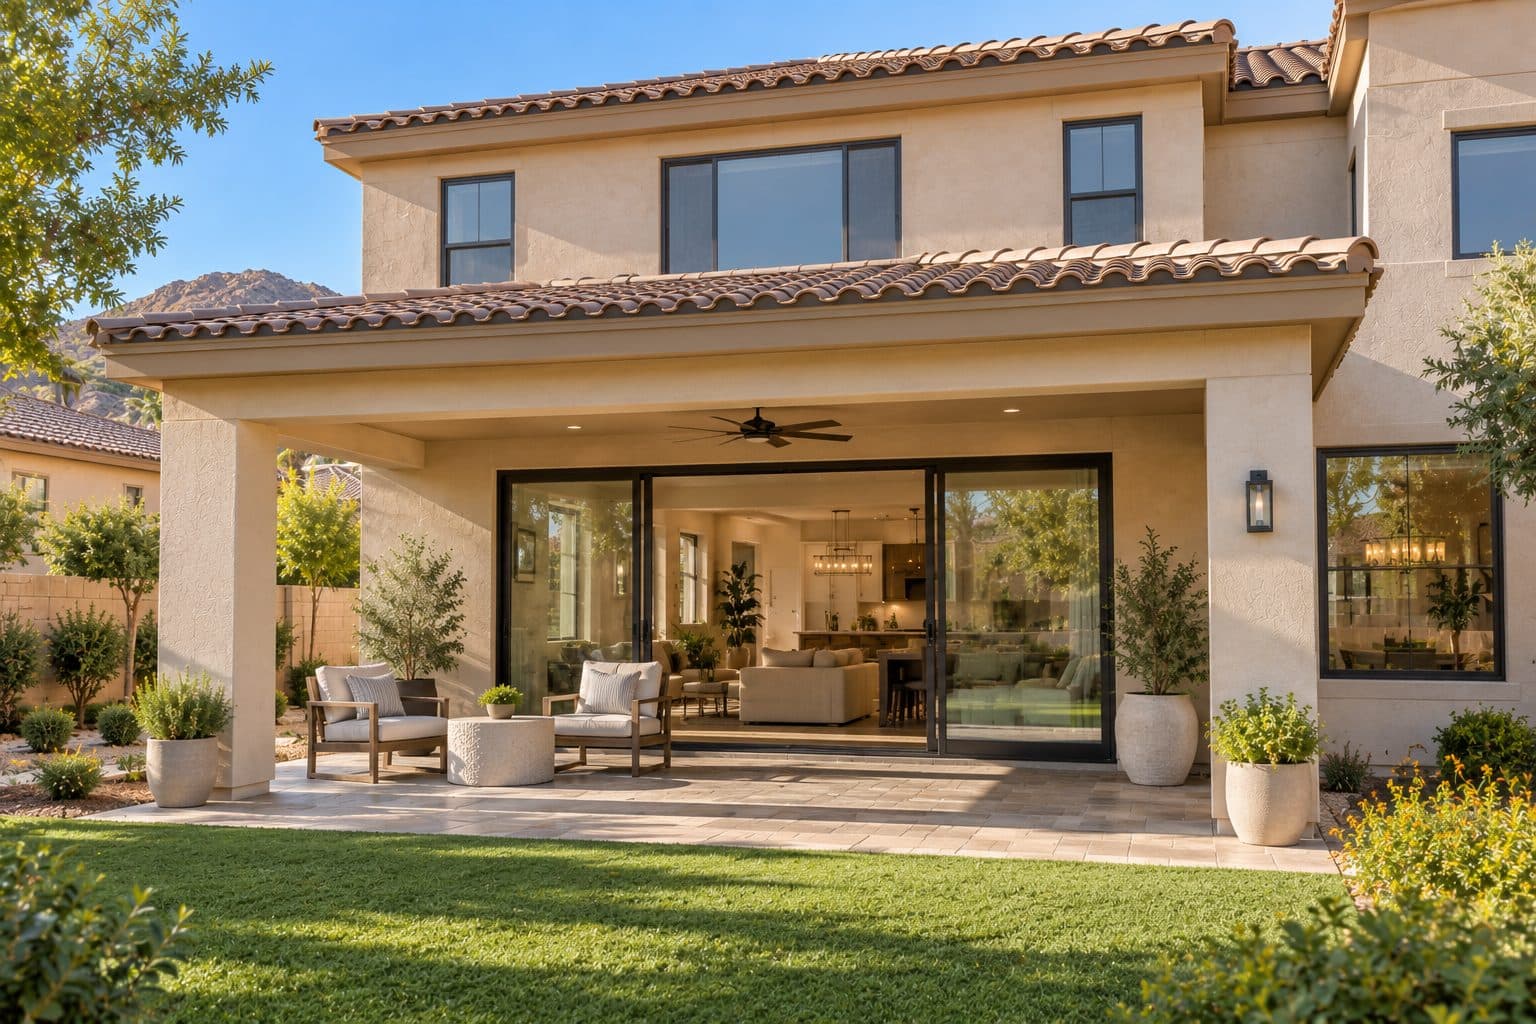
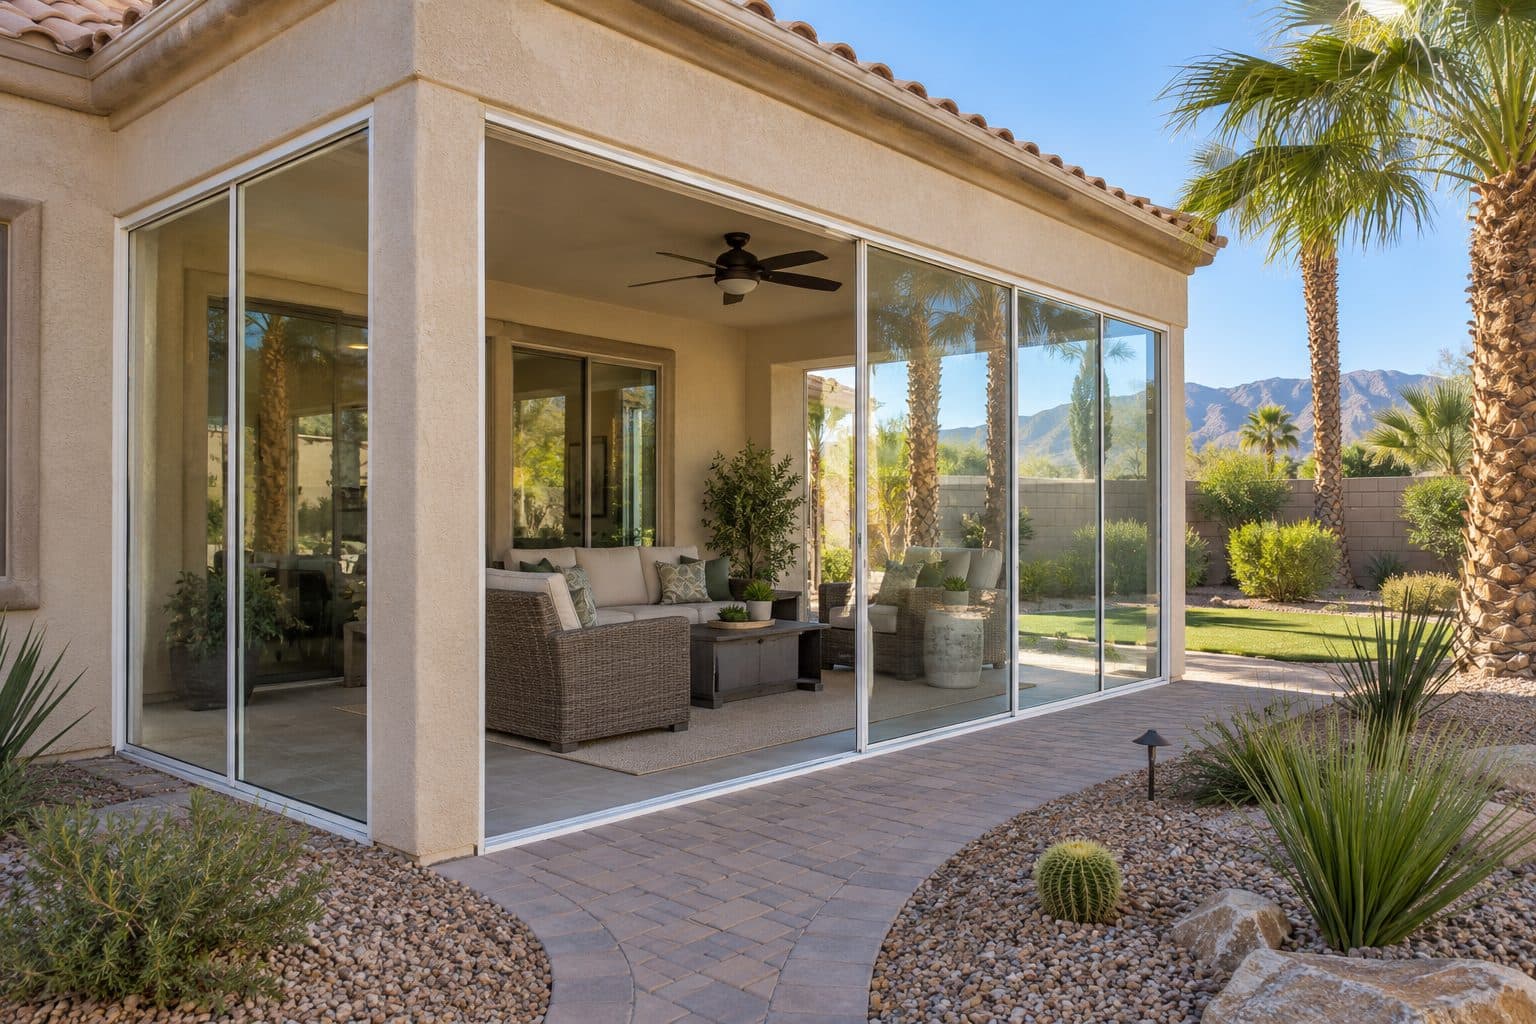
An enclosed patio should begin with a clear picture of how you want to use the space. A sheltered place for morning coffee, a screened outdoor seating area and a room intended for year-round indoor use may look similar in a photograph, but they involve different expectations and construction decisions.
Agave Windows helps you plan a patio enclosure, part of our specialty project planning, in terms of the existing structure, the selected enclosure system and the result you expect. We start with the roof, slab, openings and connection to the home so the proposal describes a complete project rather than an undefined promise of extra space.
- Licensed, insured, bonded
- Written scope before ordering
- Las Vegas valley
The short version
A patio enclosure adds screen or glass walls to an existing patio. What you need depends on how you will use the space, the condition of the roof and slab, and whether it will be heated or cooled.
01 of 09
Describe a typical day in the finished space
Tell us when you want to use the patio and what currently gets in the way. Windblown debris, insects, limited shade and uncomfortable temperatures are different problems. Glass alone does not automatically solve all of them, and a space with no heating or cooling should not be presented as equivalent to a conditioned room.
Think about furniture, dining, plants, pets and the route into the yard. Will doors remain open frequently? Do you need screens? Are privacy and clear views equally important? The intended use helps establish where fixed panels make sense and where operable openings or doors are needed.
If your goal is a finished indoor room, say so at the beginning. Our patio enclosure or sunroom comparison explains the difference. That can introduce a broader discussion about the building enclosure, energy performance, systems and approvals. The scope must name that goal explicitly rather than treating a patio enclosure label as proof that every indoor-room requirement is included.
02 of 09
Evaluate what already exists
The patio roof and its connections
An existing roof or cover is part of the starting condition, not a guarantee that it is ready for an enclosure. Its condition, support, drainage and connection to the house need to be understood. Records of previous permits or construction can be useful, especially where additions have changed over time.
Water at the roof edge or wall connection may need separate investigation. Enclosing the sides does not repair an unrelated roof leak. Identify known staining, movement or previous patching before choosing finishes that might conceal the area.
The slab and perimeter
The patio surface should be assessed for the proposed use and enclosure. Elevation changes, slope, drainage, cracking and the perimeter condition can affect the project. The appearance of a concrete surface does not establish its structural adequacy for new construction.
If assessment identifies foundation or slab work, describe it as a separate requirement with an identified responsible party. Do not assume that an enclosure proposal includes structural concrete work because it includes a floor-to-ceiling glass system.
The adjoining house
Record the doors and windows that currently open onto the patio, along with vents, equipment and other attached features. Enclosure changes may affect how that adjacent space functions. The project should evaluate the actual arrangement and applicable requirements, including any openings or routes that need to remain usable.
four steps, in order
How a Project Runs
- 1
Tell us about the project
Send your location, the approximate number of openings, and what you want to improve.
- 2
Review the openings and options
We discuss your priorities and assess the details that affect product selection and installation.
- 3
Define the work in writing
The proposal identifies the products and agreed installation scope so you can understand what the project includes.
- 4
Install and review the result
At completion, we review the installed products, operation, visible finish, and care information with you.

03 of 09
Choose the enclosure system for the intended experience
A useful design identifies which portions are fixed, which open for ventilation and where people enter and exit. Panel arrangement influences views, cleaning, furniture placement and everyday operation. More operable glass is not automatically better if it leaves awkward stacks or handles behind seating.
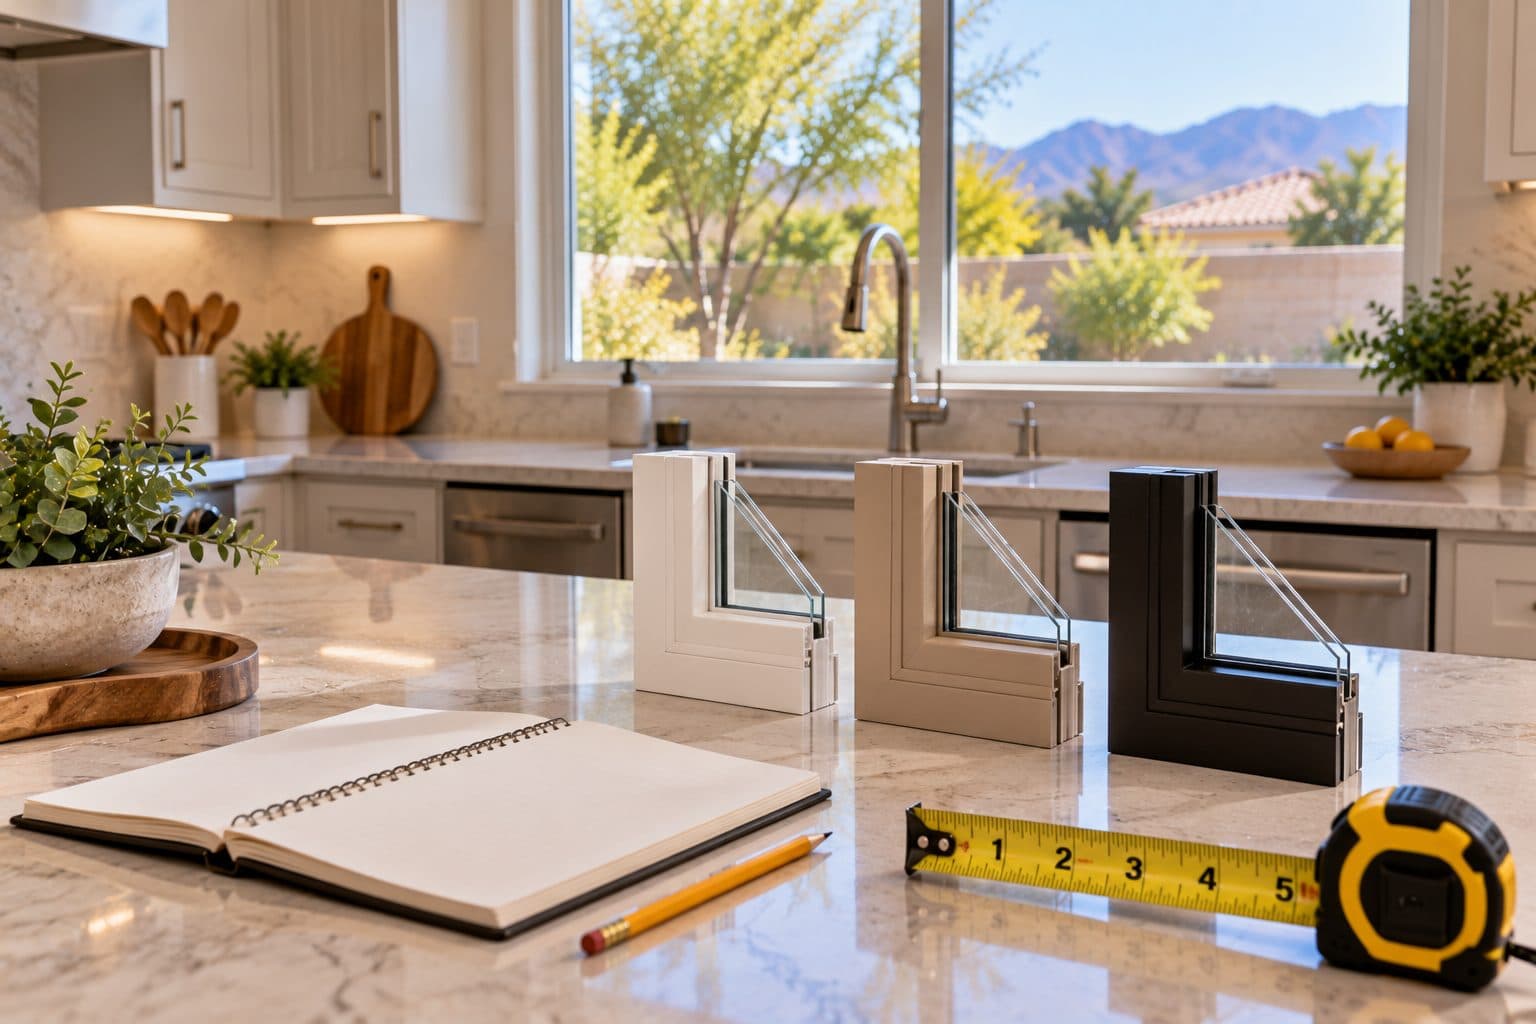
Discuss the frame finish, visible frame widths and glass appearance as a coordinated elevation. If the enclosure meets existing windows or doors, compare samples and product information rather than assuming materials with similar names look identical. An intentional difference can be more successful than an approximate match presented as exact.
For the patio door options within the enclosure, check the route in both directions. A hinged door needs a clear swing area; a sliding arrangement needs an identified operating panel and suitable track access. Screens and shades add their own operating space and should be shown in the plan rather than added after the glass layout is fixed.
04 of 09
Set realistic comfort expectations
A patio enclosure changes the boundary between outdoor and indoor conditions. When open sides become glazing, wind-driven air movement changes and sunlight still brings energy into the space. That is why a glass perimeter alone cannot establish a comfortable room temperature.
Decide where the indoor boundary will remain
In a seasonal enclosure, the existing house wall and its doors may continue to separate conditioned living space from the patio. If the plan removes that separation or treats the enclosure as ordinary indoor space, the project needs a broader assessment of the roof, walls, floor, air sealing and mechanical systems. The intended use should be documented before the glass layout is selected.
This distinction has a practical consequence: installing attractive perimeter glass now does not guarantee a simple later conversion to conditioned space. The first project may preserve an outdoor slab, roof and drainage arrangement that needs a different solution for the later use. If future conditioning matters, evaluate that future design now rather than assume the glass will be the only reusable decision.
Balance solar gain, shade and ventilation
SHGC describes admitted solar energy for a rated assembly, as our U-factor and SHGC guide explains. Lower SHGC can help limit unwanted solar gain, but the amount of glass, its exposure and the other enclosure surfaces still matter. U-factor concerns heat transfer, while visible transmittance concerns daylight. The Department of Energy’s product-selection guidance treats these as related but distinct decisions.
A shaded morning seating area and an afternoon office require different comfort plans. An operable panel can provide ventilation only when it is open and outdoor conditions are useful; it is not a cooling system. Insect screens, wind, privacy and whether someone is present to operate panels affect how that plan works in practice.
For a hypothetical west-exposed patio, adding large clear panels might reduce windblown debris while leaving afternoon solar discomfort unresolved. The design response could include a different glazing package, exterior shade, a revised use schedule or a broader conditioned-room project. Those are choices to compare against the intended experience, not promised temperature reductions.
Where heating or cooling is proposed, the appropriate professional should assess the room and system capacity. Extending a duct or adding an appliance does not by itself establish that the construction and approved use are suitable. Keep the mechanical design and enclosure scope coordinated.
how we install
The Part Behind the Glass

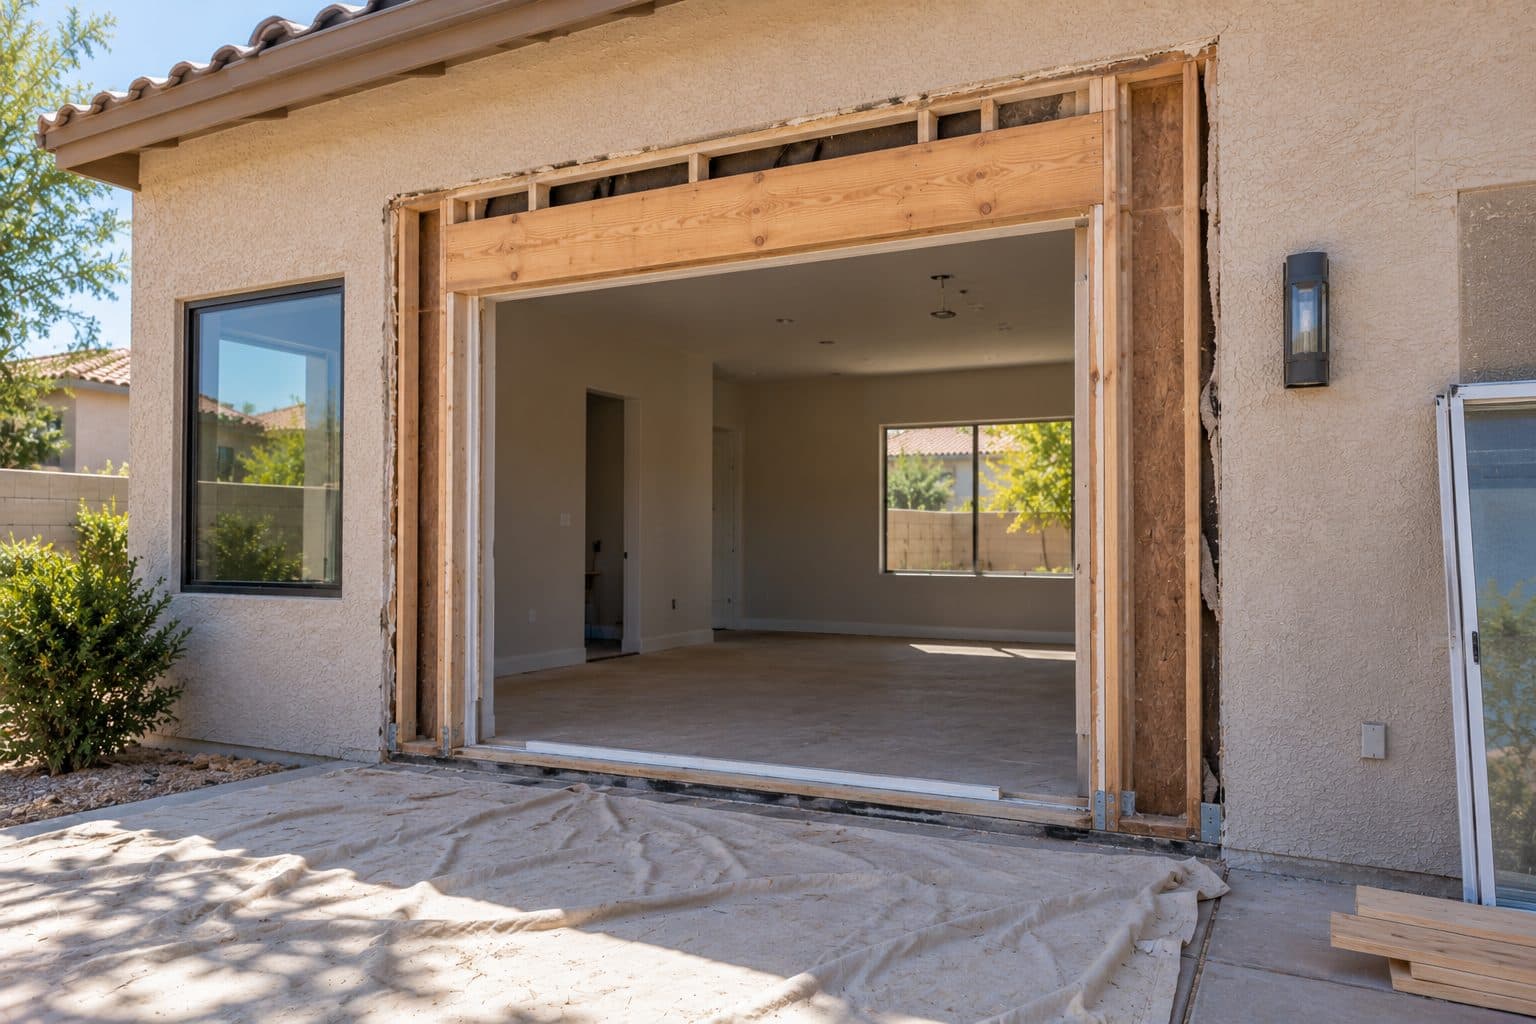
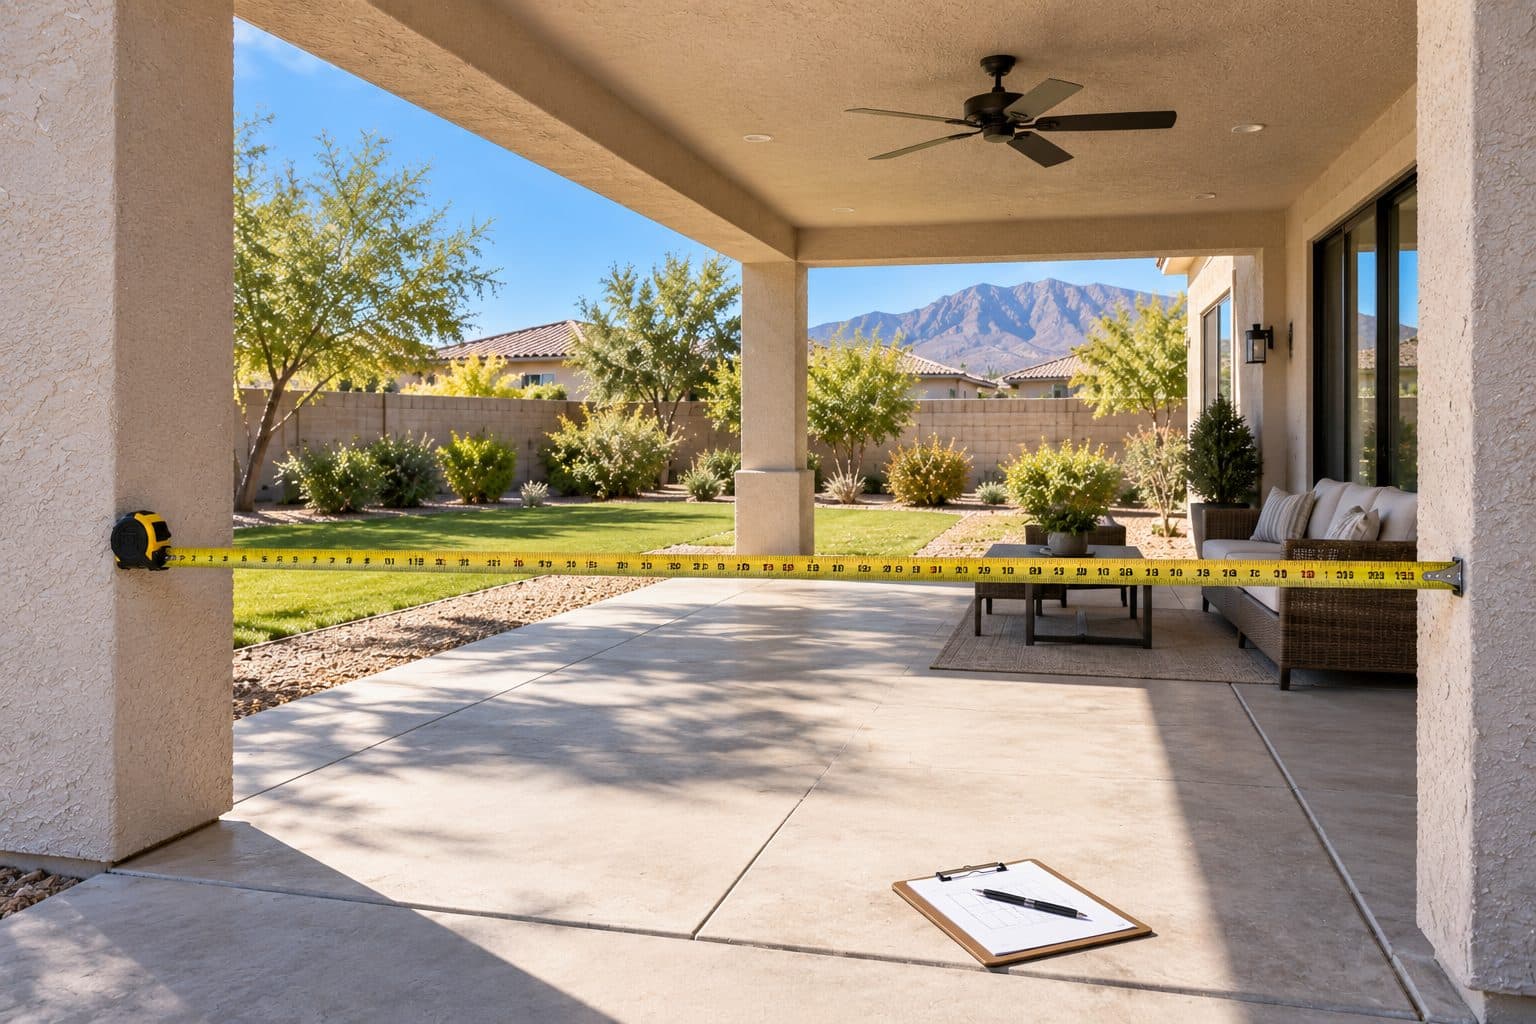
Measured before anything is ordered
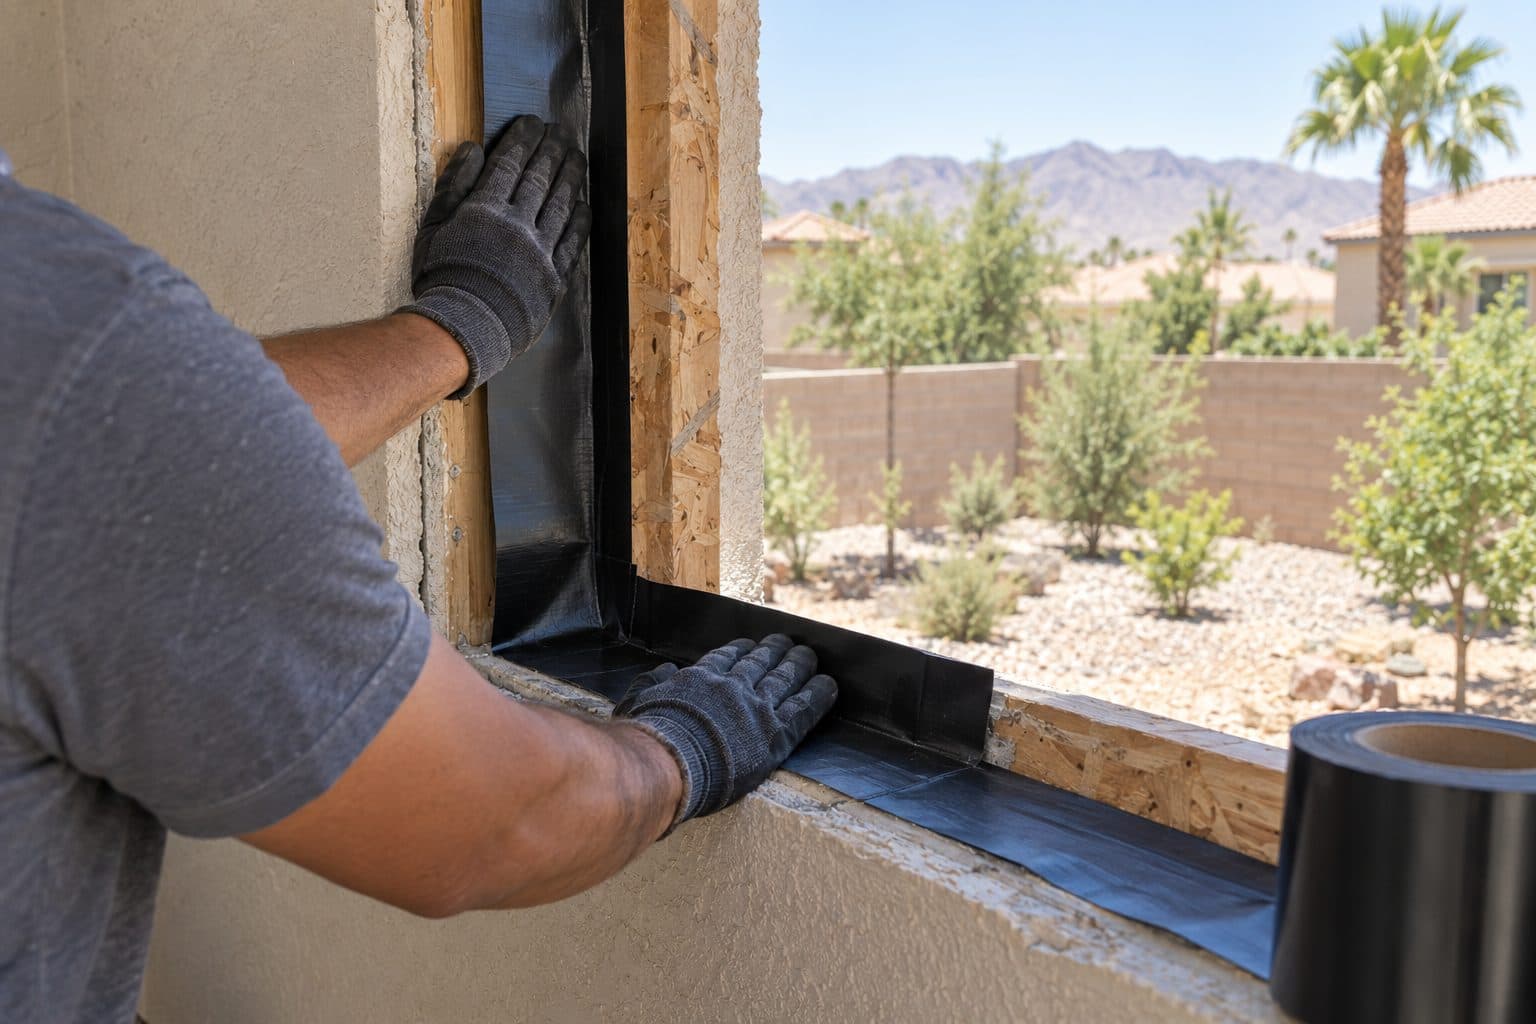
Flashed so water has a way out

Set level, plumb and shimmed
05 of 09
Design ventilation and access deliberately
Place operable sections where they are practical to reach and use. A panel behind a large sofa may be technically operable but inconvenient in daily life. Review where air can enter and leave, how screens fit the intended openings and whether stored panels interfere with seating or circulation.
Also think about cleaning. The outside of enclosure glazing may face landscaping, a narrow side yard or a raised surface. Access for ordinary care should be considered before the layout is finalized. Ask which components are intended to be removed by a homeowner and which require service.
Door thresholds, steps and surface changes should be shown in the plan. If you have mobility goals, describe the complete route from inside the house, through the enclosure and into the yard. A single low threshold does not establish that the entire route meets your needs.
06 of 09
Keep water management visible in the scope
The new perimeter meets a roof above, a slab below and the house at its ends. Each connection needs a defined role in keeping water directed away from vulnerable materials. A bead of sealant around the visible frame is only one possible component of that system.
Follow water to its destination
Start with roof runoff: where does it leave the cover, and can it fall or splash against new joints? At the base, identify the existing slab slope and the exterior grade. A slope that is inconvenient for furniture may currently carry water outward. Leveling or overlaying the floor can change that route and the height available at a door sill.
Building America’s flashing guide explains the need to integrate openings with drainage layers. For an enclosure, the selected system’s details must be coordinated with the actual retained patio construction. A generic window detail should not be assumed to solve every slab or roof connection.
| Existing condition | Decision before fabrication |
|---|---|
| Water stains at the house connection | Establish the source and repair responsibility |
| Sloping slab or uneven edge | Resolve support, floor use and drainage together |
| Exterior surface near the planned sill | Confirm the sill and adjacent surface relationship |
| Roof discharge near a new joint | Coordinate runoff management |
| Future floor finish | Include its thickness in the transition drawing |
Record what is retained, repaired or excluded at each connection. If the roof has a separate leak, enclosing its sides does not repair it. If the slab needs structural work, identify that design and contractor separately from glazing installation.
At completion, the visible finish review should follow the agreed details and boundaries. A hose demonstration chosen casually by the homeowner is not a substitute for a specified test method. If field water testing is part of the contract, define its method, responsibility and acceptance criteria before installation.
07 of 09
Know what the enclosure proposal includes
Look for a written description of the existing construction to remain, the enclosure system being added and the intended use of the finished space. Product selections should identify the operable panels, doors, glass, frame finishes, screens and hardware.
The scope should also describe preparation, anchorage and integration responsibilities, any required design or engineering, permit responsibilities and finish work. Ask who handles electrical changes, roof repairs, slab work, painting and flooring if those are part of your plan. These tasks should not disappear behind a single enclosure line item.
For an occupied home, discuss site access, storage, work-area separation and how the existing patio entrance will be used during construction. Product fabrication and work at the property are separate schedule stages. Any proposed completion date should reflect design, approvals and confirmed product availability. Our guide to permit planning stages shows where approvals fit.
08 of 09
Compare enclosure plans on equal terms
Two proposals may use the same enclosure label while describing very different results. One might be a specified glazed perimeter beneath an existing cover; another might include roof replacement, a rebuilt floor and conditioned-room systems. The comparison should begin with intended use and included construction.
A useful hypothetical choice is whether to keep a seasonal seating area simple or pursue a more extensive indoor-room project. The first question is whether either plan meets your goals. Only then does it make sense to compare product upgrades, finish allowances and scheduling options, using our patio enclosure cost factors as a checklist.
Keep a separate list of must-have features and optional improvements. That makes it easier to adjust the project without removing something essential to the space's operation or the required construction.
09 of 09
Start with the patio you have
Send your property location, photographs of the patio from several sides and a description of how you hope to use the enclosure. Include the roof, slab edges and connections to the home, not just the open view. Mention existing plans, known repairs and any HOA approval requirements.
We will use those details to discuss the enclosure scope and the next information needed. A clear starting condition helps connect the right system with a realistic plan for the finished space.
things people ask us
Frequently Asked Questions
Is a patio enclosure the same as a sunroom?
The terms are used inconsistently. Confirm the intended use, whether the space is conditioned, what construction is included and how it will be reviewed. A label alone does not establish that a patio enclosure becomes approved indoor living area.
Can the existing slab and roof be reused?
Their suitability needs assessment for the proposed enclosure. Condition, design, support, drainage and the planned use can matter. The proposal should identify retained construction and any required work rather than assume everything is reusable.
Will glass keep the enclosure comfortable in summer?
Glass selection is one factor. Exposure, shade, ventilation, roof and floor construction, enclosure design and any mechanical systems also affect comfort. Ask for product ratings and a plan tied to the intended use; avoid expecting a fixed temperature result from glazing alone.
Can I add heating and cooling later?
If eventual indoor conditioning is a goal, raise it during planning. A later change may affect design and approvals. The first-stage enclosure should not be assumed suitable for that future use without review.
What should I compare before accepting an estimate?
Compare intended use, retained roof and slab, the exact enclosure system, operable sections, doors, preparation, water management, permits, any engineering, finishes and exclusions. Ask how concealed conditions and changes to the design will be handled.
Still have a question about your home?
Ask us directly. A quick description of the opening is enough.
go deeper
Guides for Your Patio Enclosures Decision
Patio Enclosure Cost
What affects patio enclosure cost in Las Vegas: screen or glass walls, the existing roof and slab, doors, electrical work and permits. Plan your budget.
Read the guide →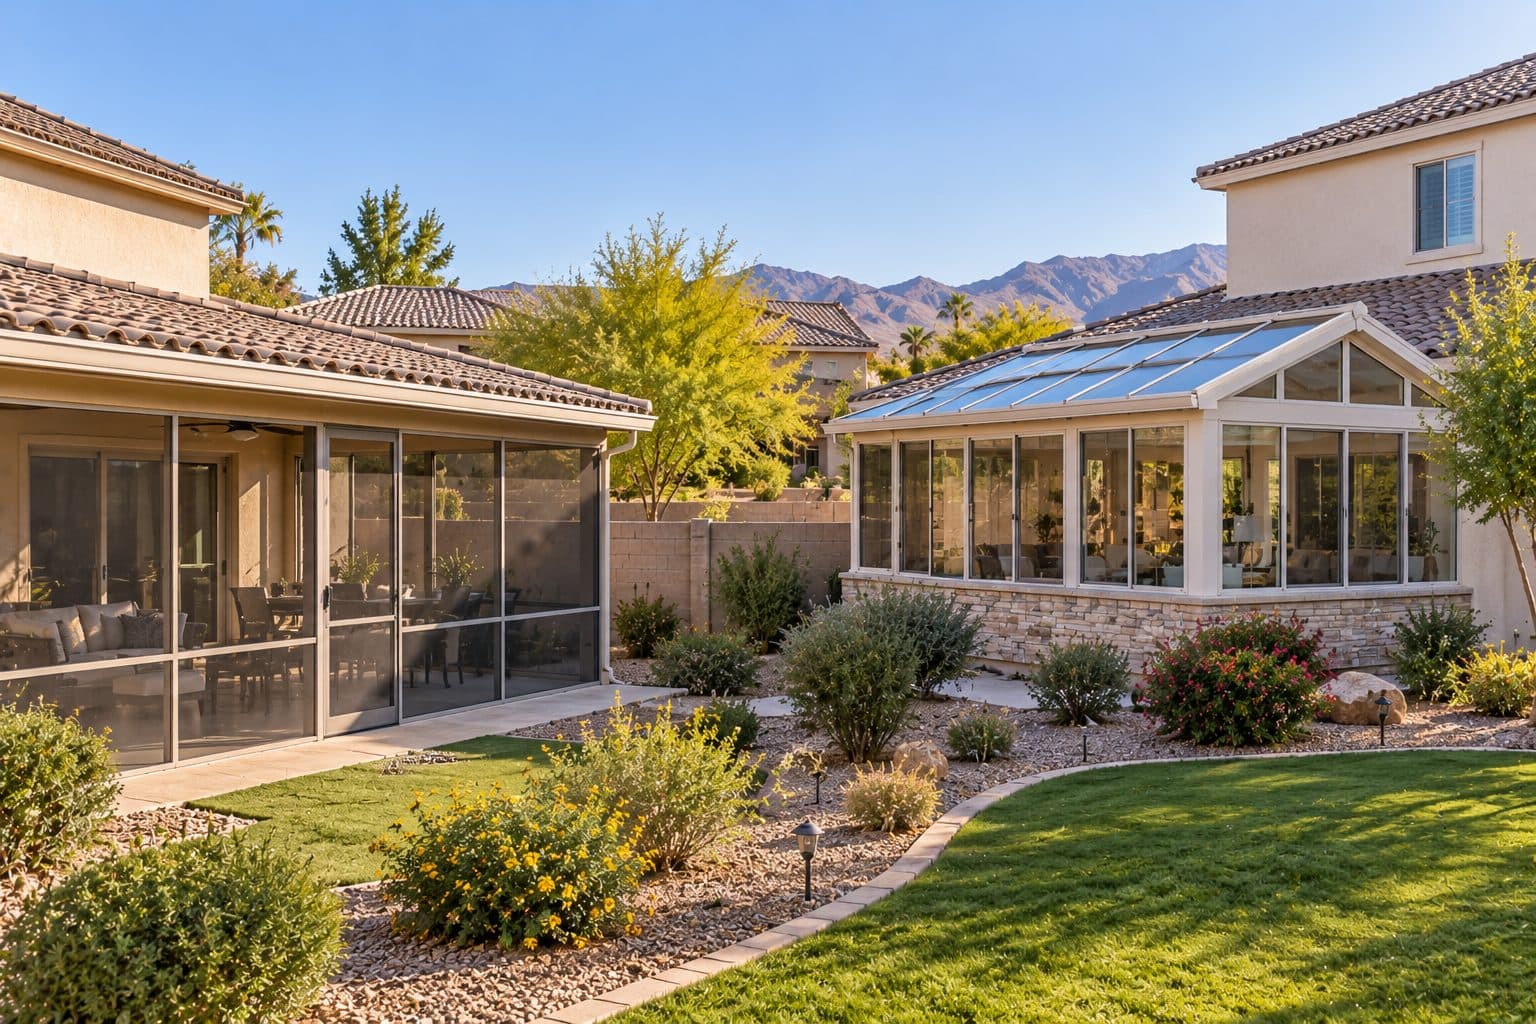
Patio Enclosure vs Sunroom
Patio enclosure vs sunroom: the names overlap, so compare how the space is built, whether it is heated and cooled, and which approvals apply.
Read the guide →keep going
Related Pages
- Specialty project planning
Specialty window and door projects in Las Vegas: turn a window into a door, widen a patio opening, enclose a patio or add a pet door through glass.
- Patio door options
Patio door replacement in Las Vegas: compare sliding, French, bifold and multi-slide doors, threshold options and what a complete estimate should cover.
- Permit planning stages
How long does a window or door permit take? See the stages from submission and review to inspection, and what affects timing across the Las Vegas valley.
Sources referenced on this page
Independent references linked in the text above. A manufacturer source explains a product concept; it does not mean Agave Windows supplies that brand.
- Department of Energy’s product-selection guidance (energy.gov)
- Building America’s flashing guide (basc.pnnl.gov)

ready when you are
Request a Patio Enclosure Discussion
Tell us your location, the approximate number of openings, and what matters most to you. You do not need to arrive with a product already selected.
- Photos can follow once we reply; no measurements needed
- A written scope before anything is ordered
- Licensed, insured, and bonded
Request an Estimate